


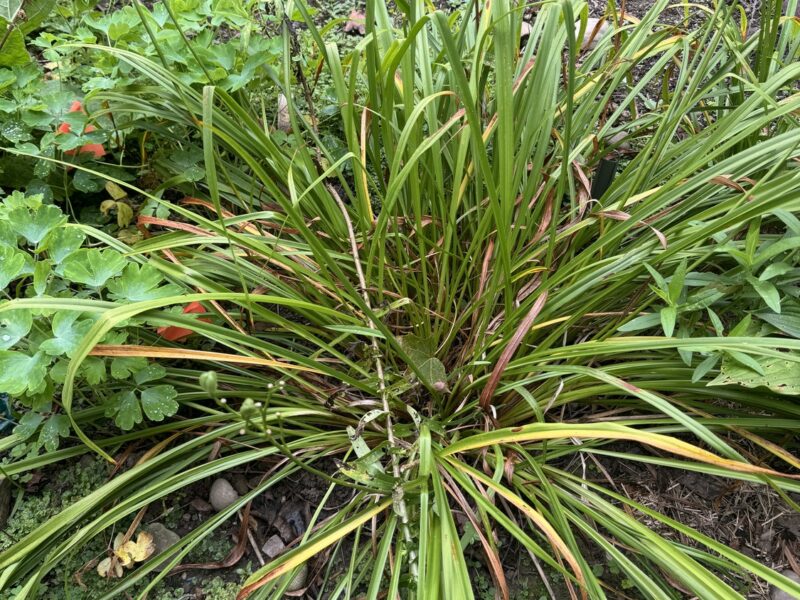
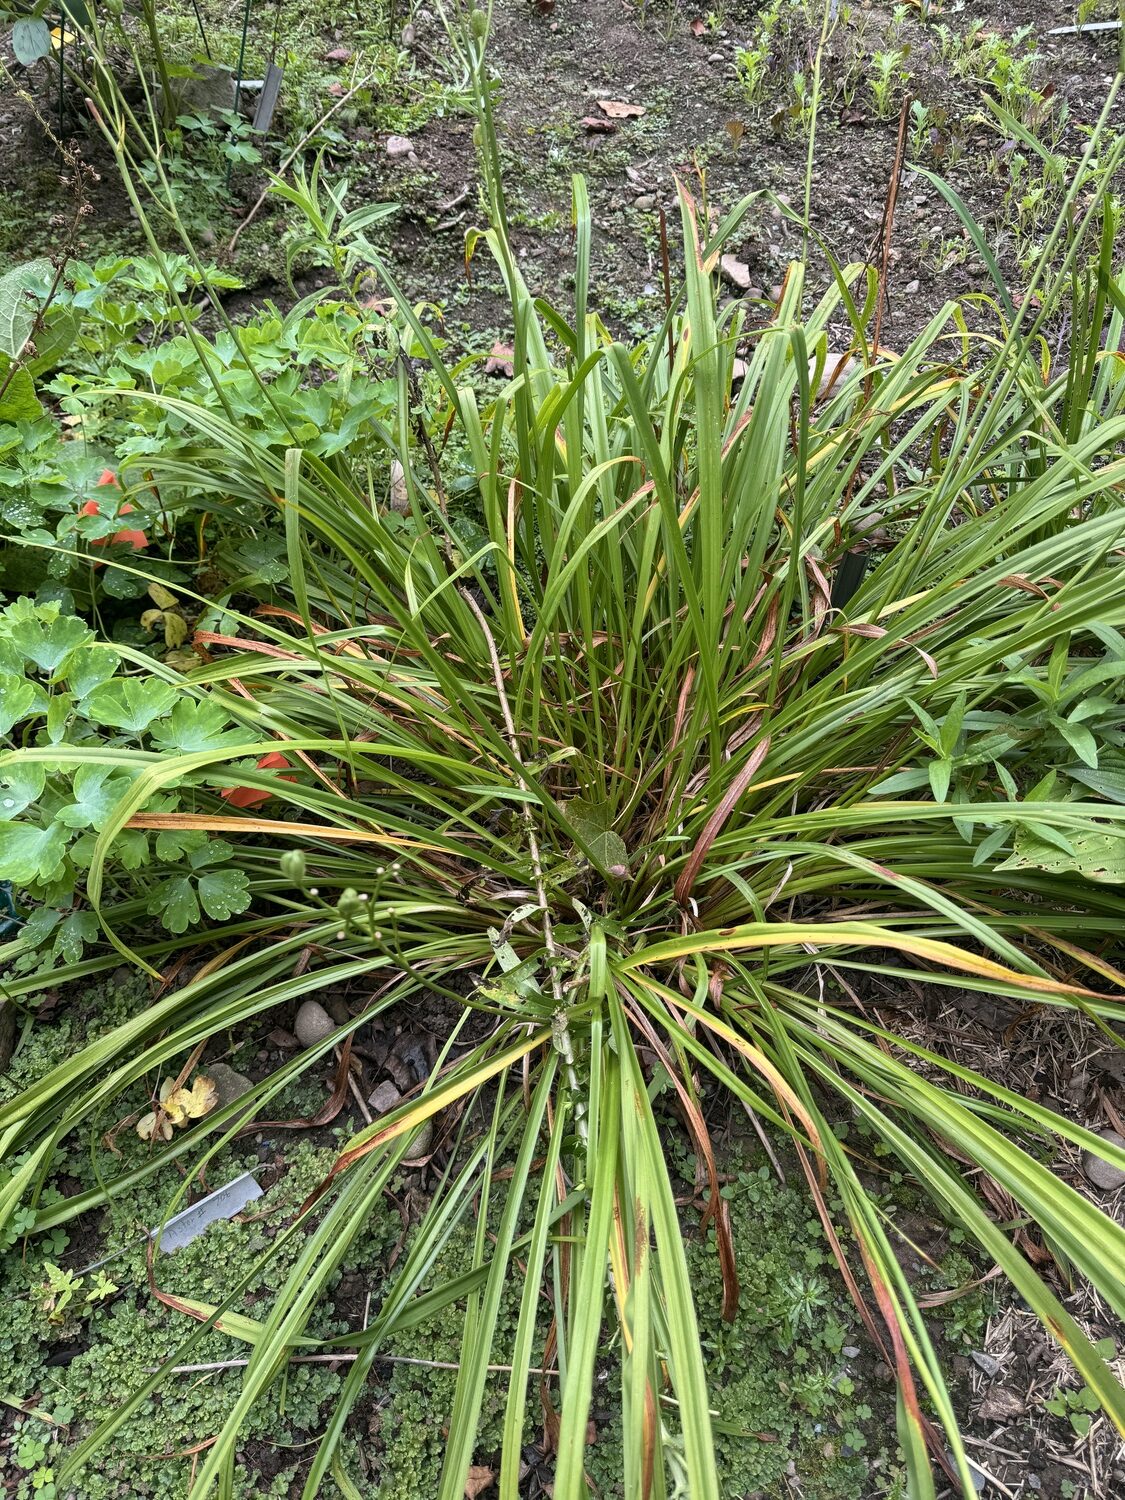
A dividable clump of Hemerocallis (daylily). ANDREW MESSINGER
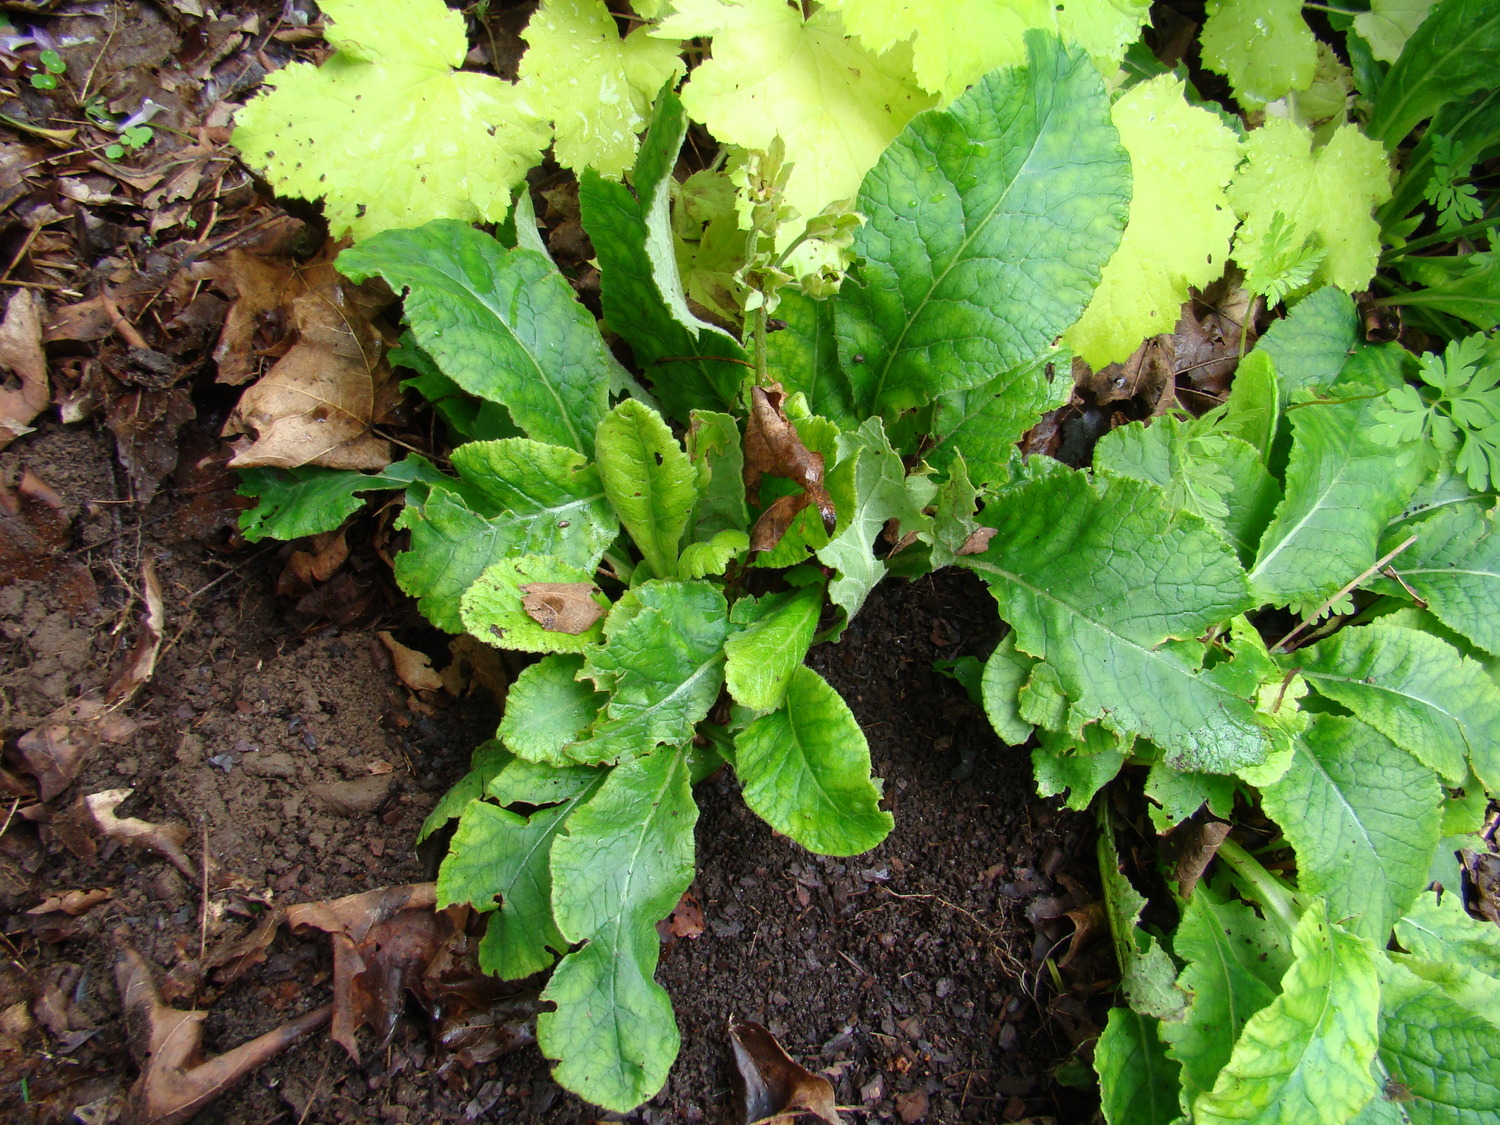
A clump of Primula in early spring but after flowering. The clump has several "offsets" that can be used to create new plants. ANDREW MESSINGER
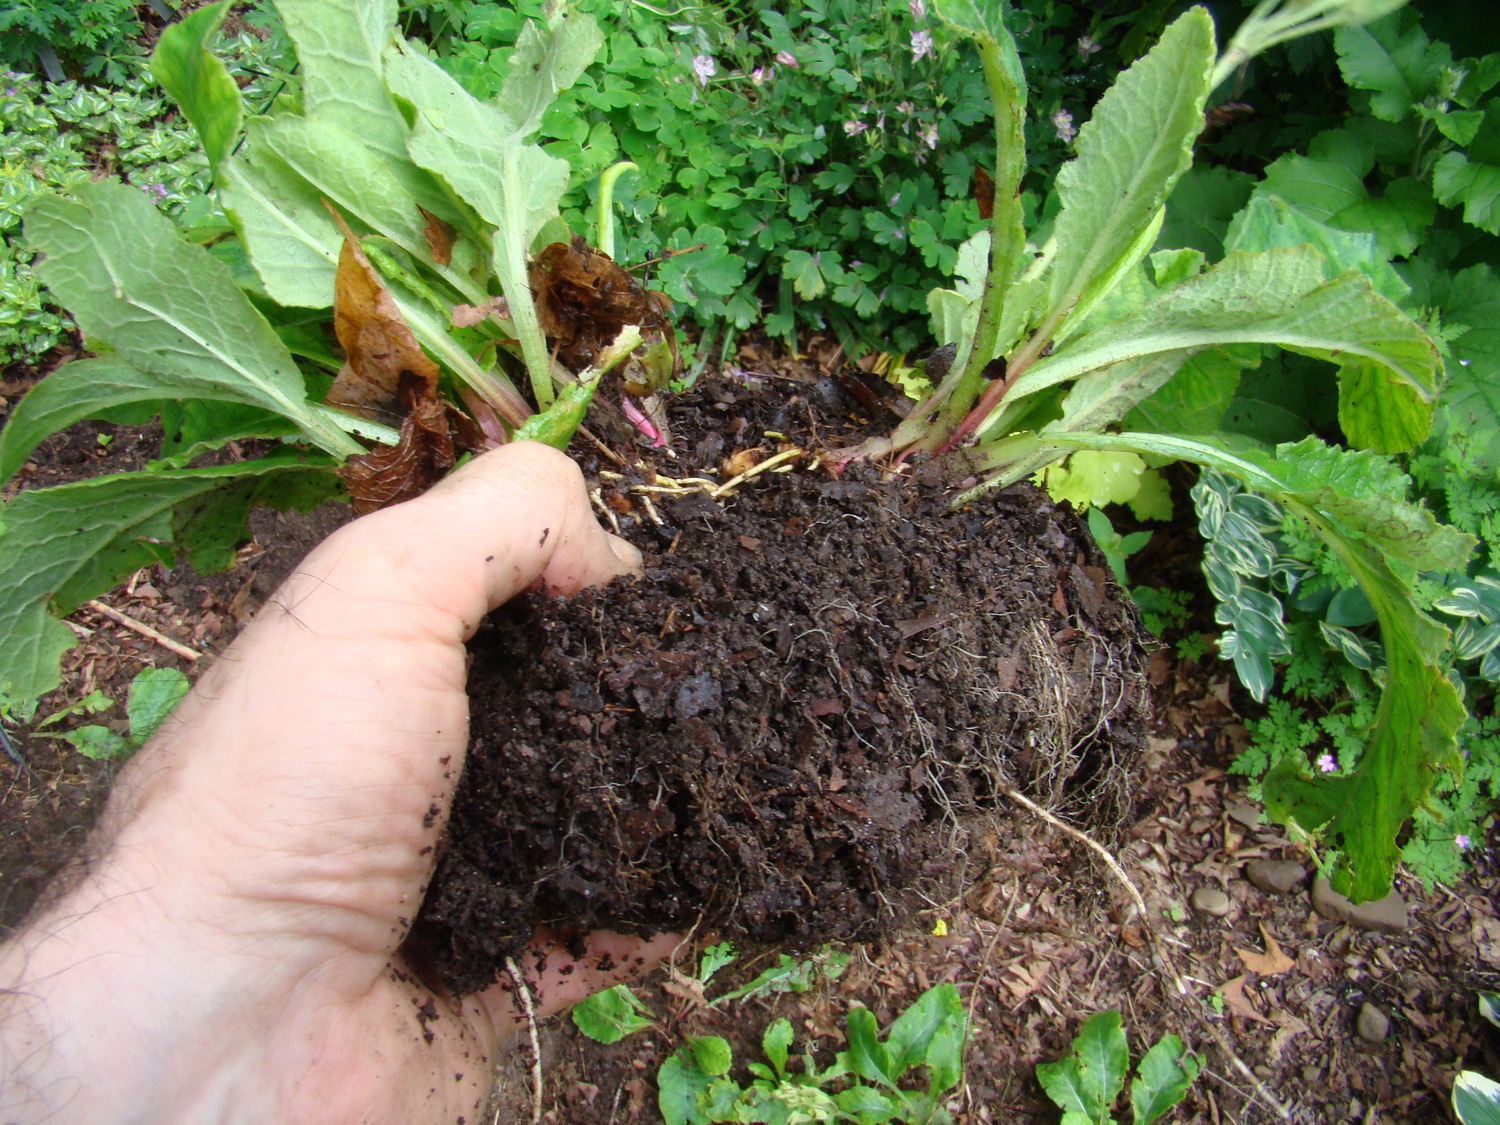
The entire clump of the Primula is dug, and the offsets or just a single offset on the right is easily removed and ready for transplanting. ANDREW MESSINGER

The offset is removed with plenty of foliage and roots intact. It simply needs to be replanted at the same depth and lightly watered. The established plant will flower the following spring and will again be divisible in a few years. Free plants. ANDREW MESSINGER
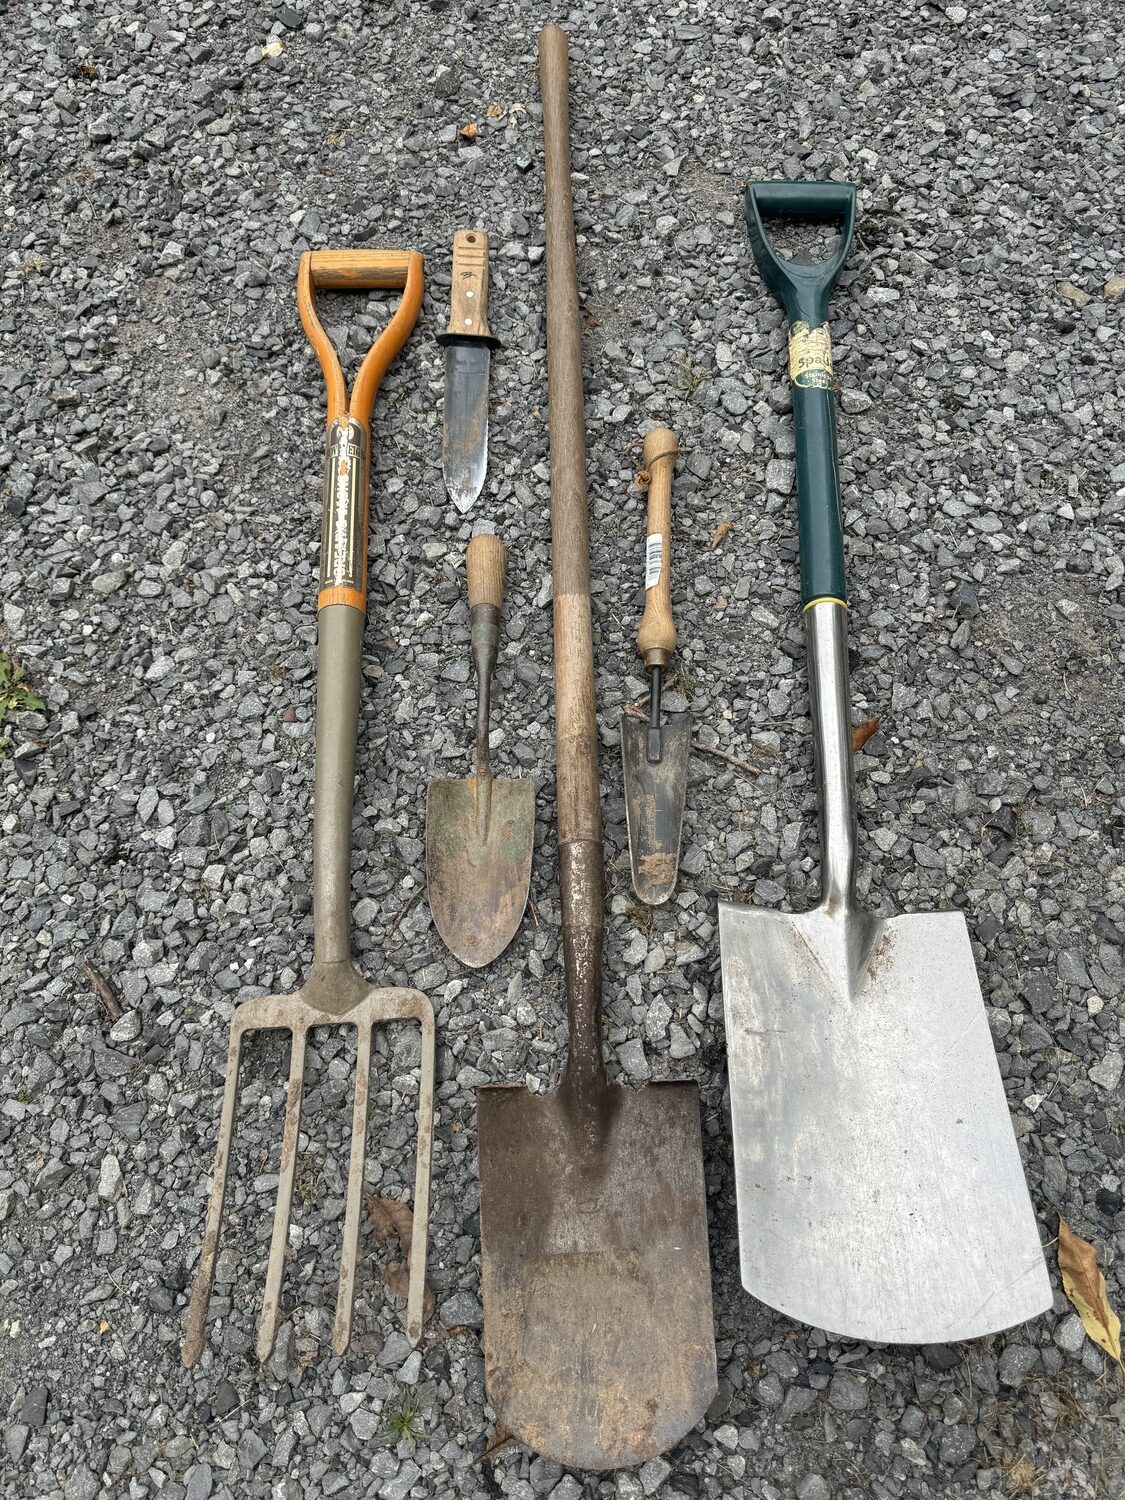
Tools you may find useful. A small digging fork on the left. Top left is a hori hori knife with a serrated edge and a cutting straight edge. Below it is a steel forged trowel. In the center with the long handle is a round-tipped straight spade. To the right is a narrow trowel, and on the far right a wide blade straight spade. ANDREW MESSINGER
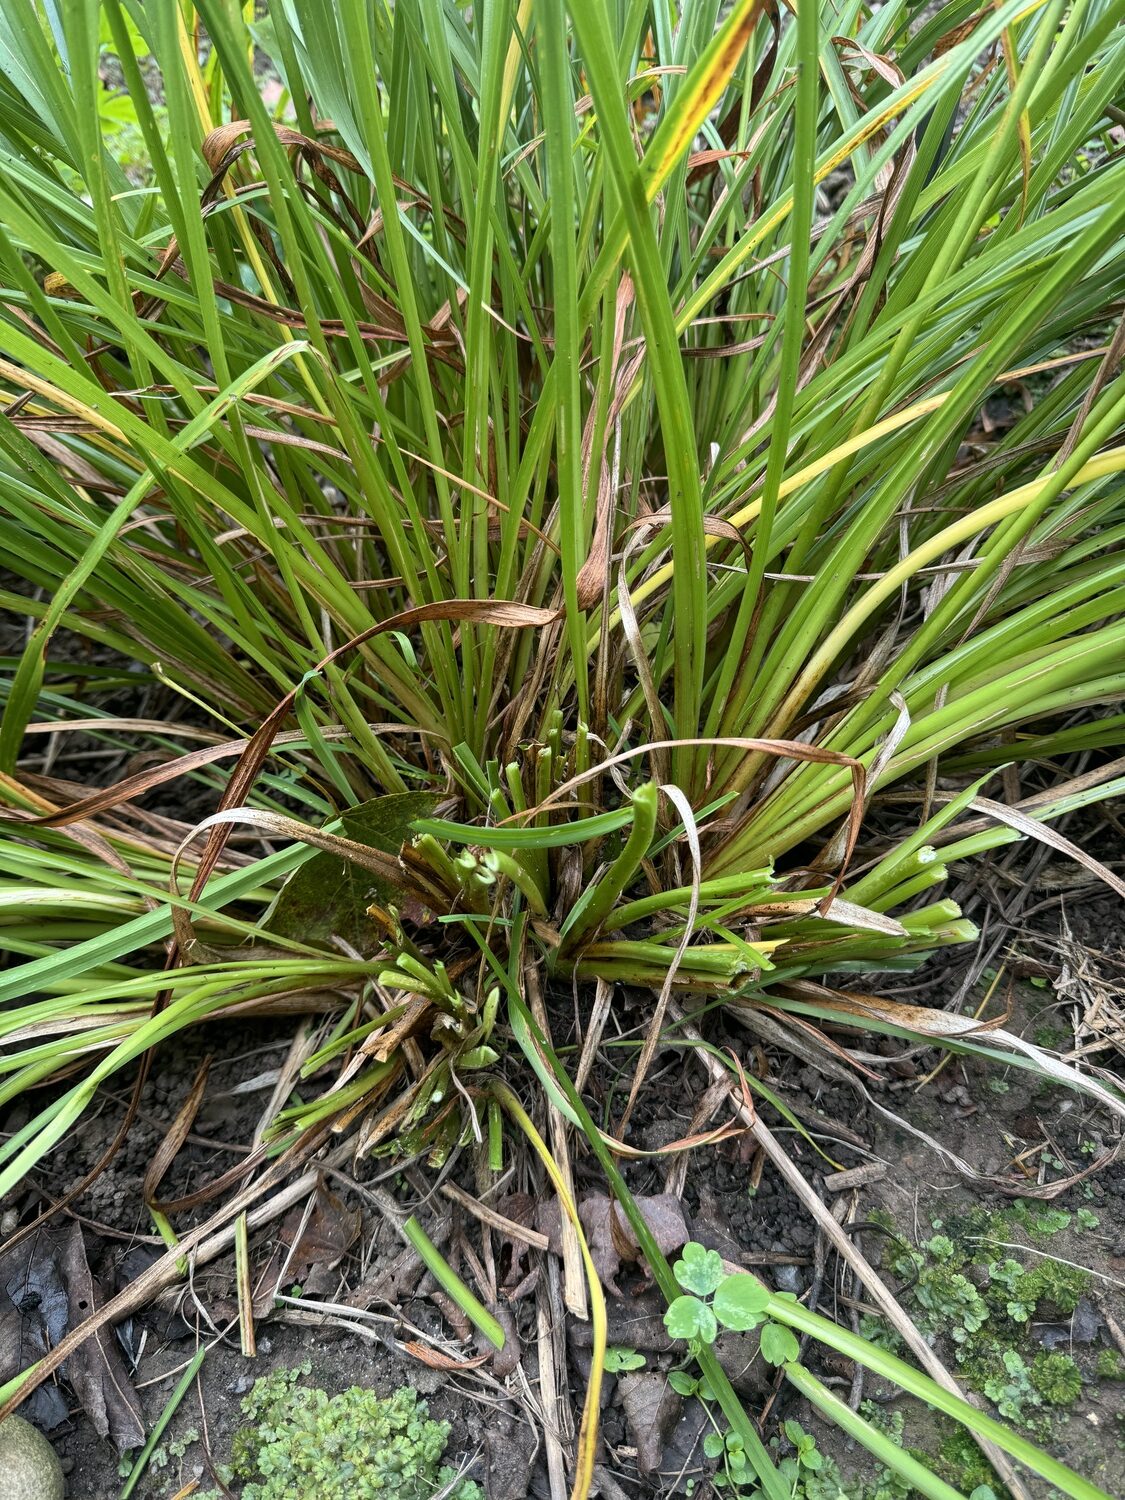
Notice that a section of the foliage has been removed to 3-to-5-inch stubs. This is the section that will be removed for replanting. ANDREW MESSINGER
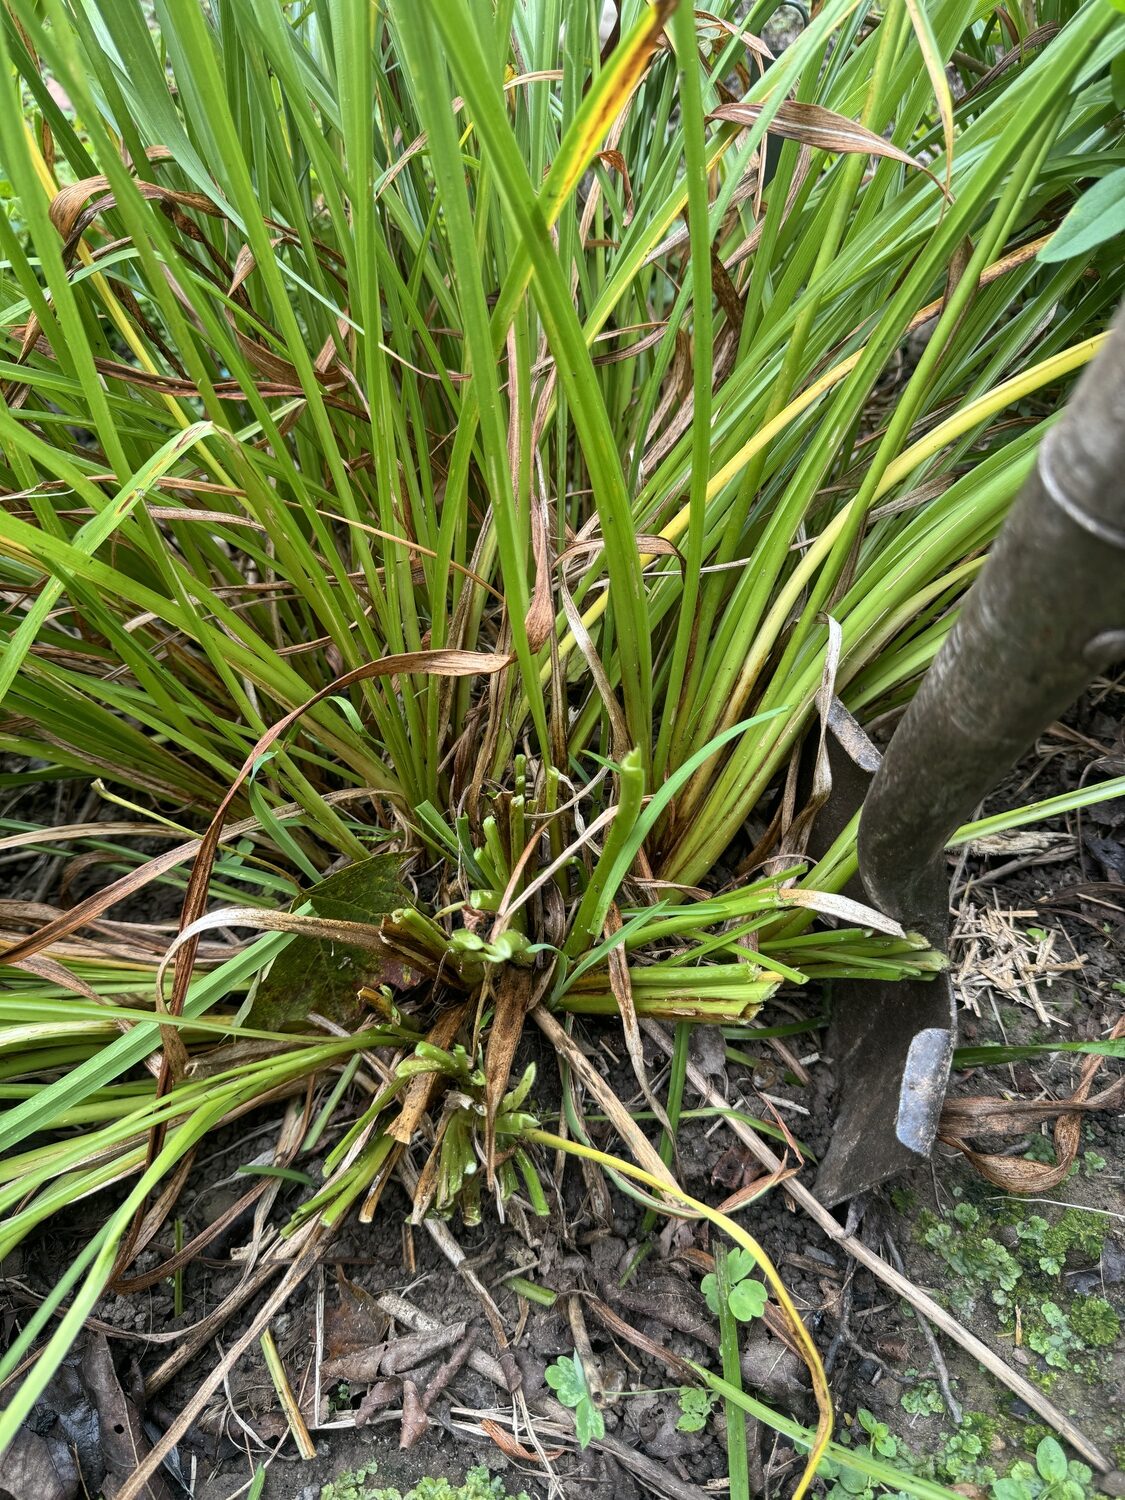
Using a small bladed spade a cut is made into the ground the depth of the spade blade. The same cut is made on four sides to create a square that can be removed. ANDREW MESSINGER
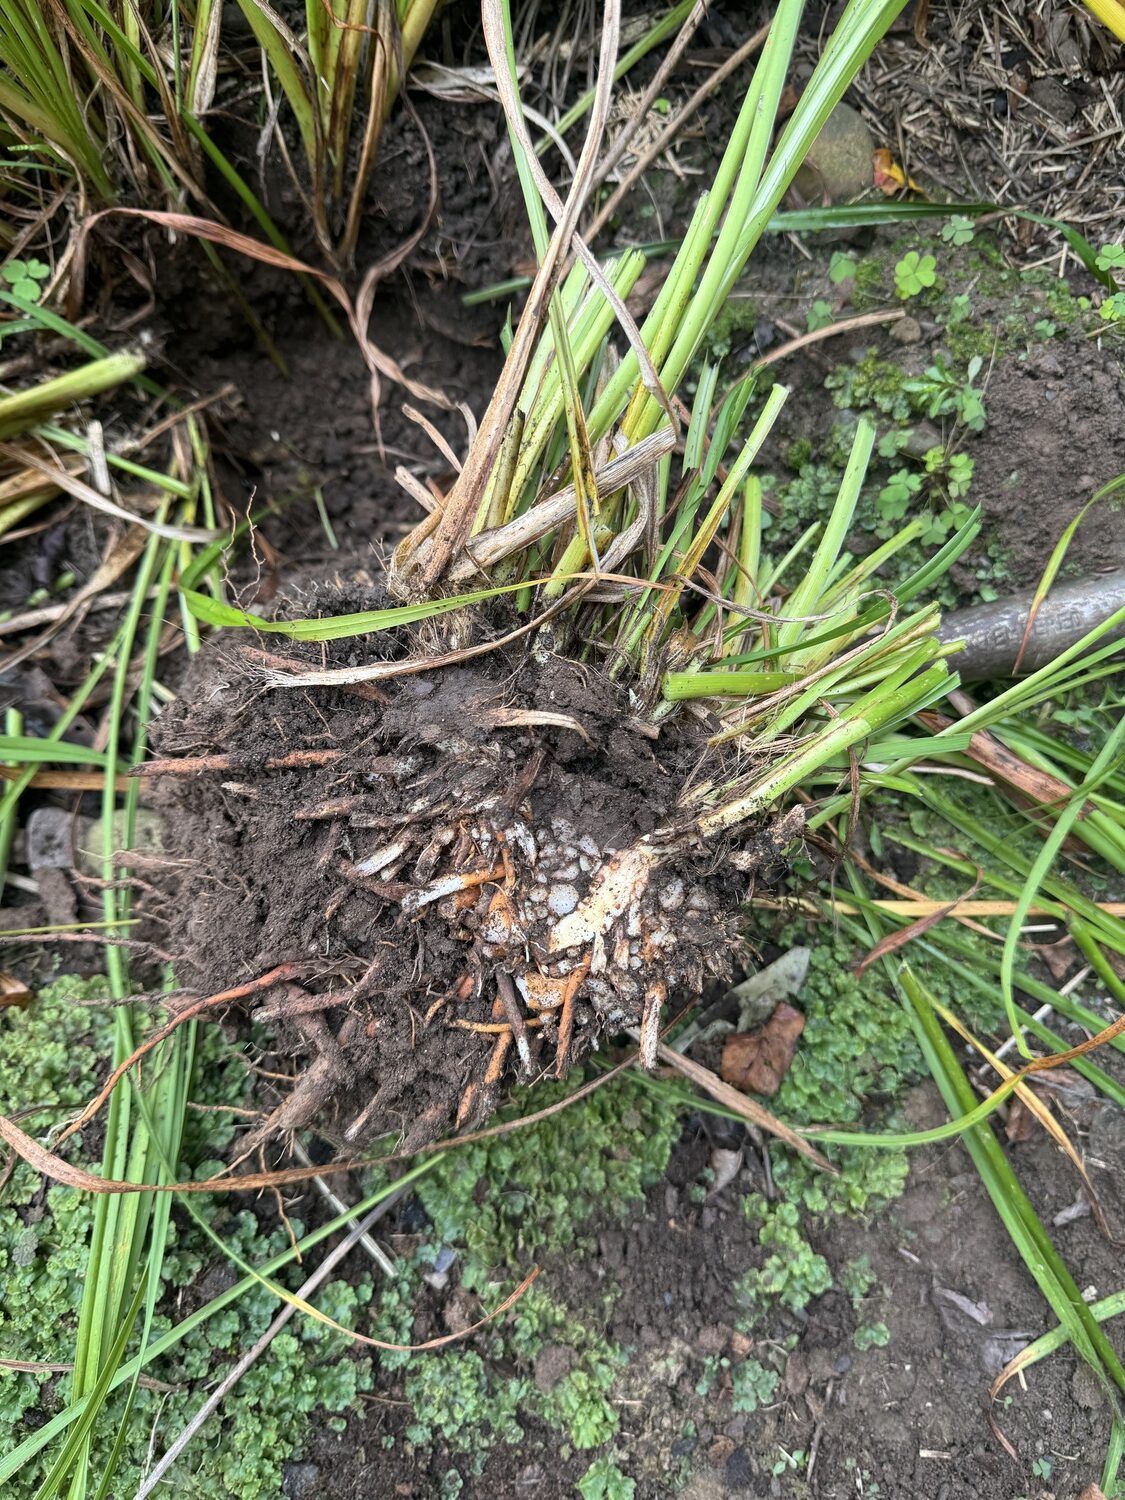
By pushing backward on the spade handle, this 8-inch-square section of the daylily is lifted from the parent plant and can be replanted in its new home. One of the easiest plants to divide this clump will not only grown but it will flower next summer. The hole left behind should be refilled with compost. ANDREW MESSINGER
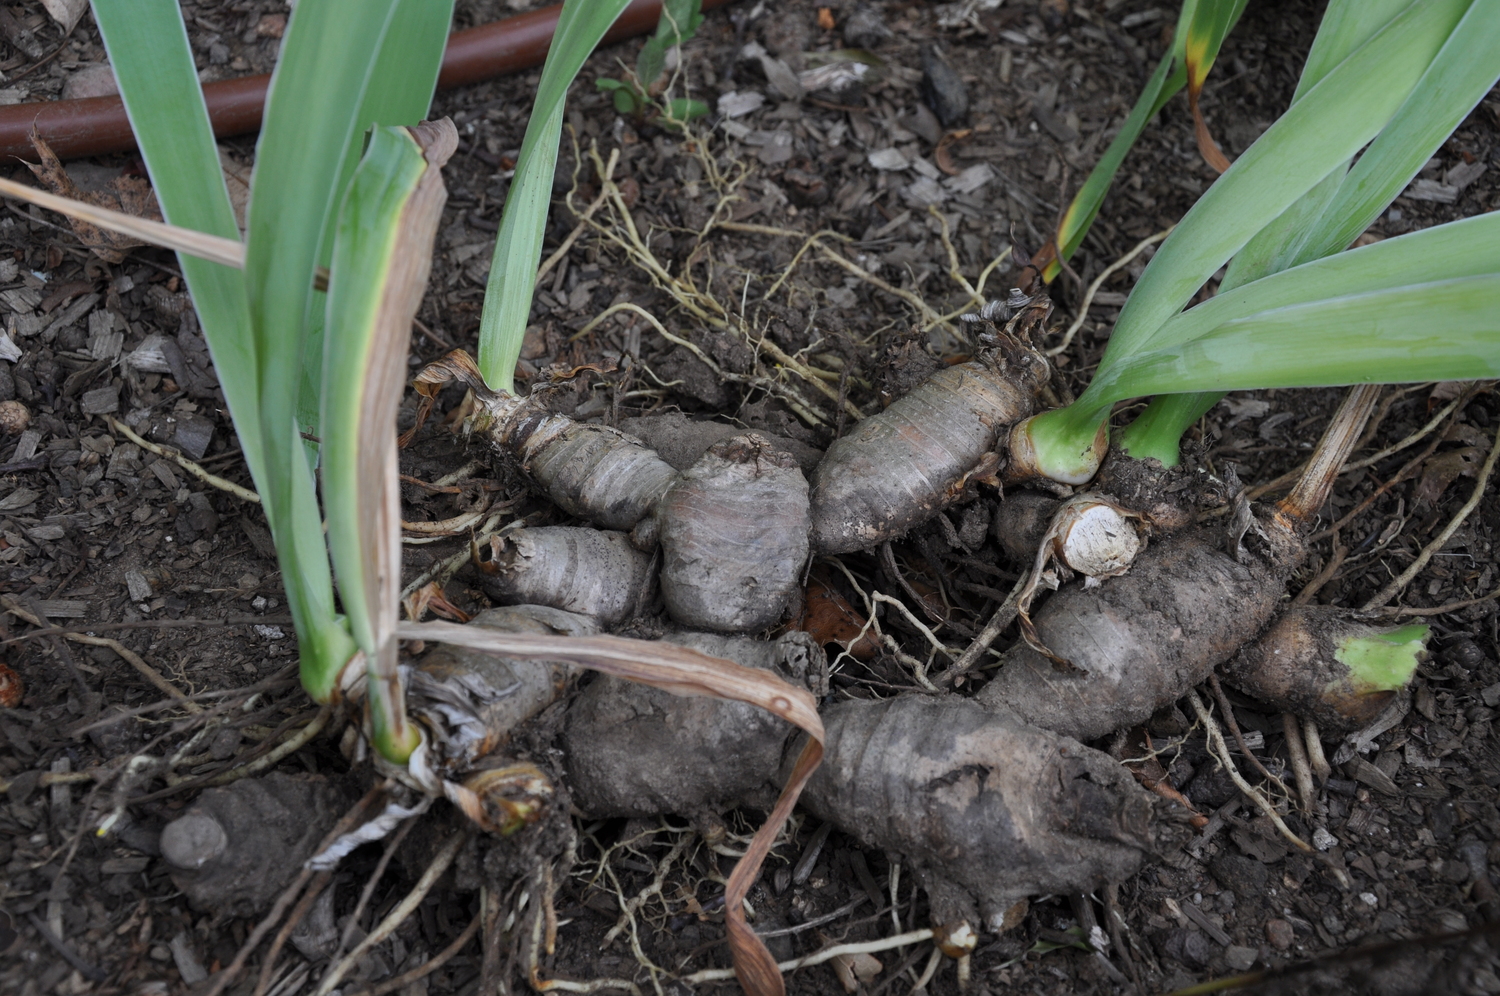
Divisions of an Iris that have been lifted from the parent planting. The foliage should be trimmed to 4-inch stubs and the roots left intact. Each fan of two or more leaf sets can be replanted and will begin to bloom on two years. Notice the soil level that runs horizontally along the rhizomes. Never replant deeper than these lines. ANDREW MESSINGER

It’s time for some free plants. Not annuals, trees or shrubs, but lots and lots of perennials. It’s the time of the year when many perennials that have already flowered can be divided. It’s relatively easy, and I’ll go over nearly 10 perennials that you can divide and replant for little to no cost. Many of these plants cost $25 to $40 when bought at garden centers and online. You’re cost? Zilch.
First you need to make sure you have some basic tools. You’ll need a straight spade, and a Japanese knife called a hori hori is also helpful. A bit of a biostimulant like rooting hormone or Bio-tone will also be helpful, and a watering can will come in handy. You’ll also need some compost for backfill.
In most of these cases we’ll be using the propagation practice known as division. You’ll find the “target” plant you want to divide, make sure it’s divisible and think about where you’ll plant the new divisions.
The process should be done in one day as the plants won’t appreciate being left out of the ground for more than several hours. The work is best done on a cloudy day or even better on a cloudy day with rain or showers in the forecast in the near future. We do this kind of work now because there are still three months ahead when these divisions will establish new roots before a frost or freeze. And the fact that these plants have already flowered means that the plants will be putting their growth energy into the root growth and not into flower and foliage production.
Have a bucket of compost ready to use as a backfill when needed. You can add your biostimulant to this mix to encourage new root growth. Don’t use “hot” or new compost but well-aged material that’s friable and dark.
The first two examples you’re probably familiar with as I’ve covered them in this column over the years, detailing how to divide them. These are the peonies and iris. So I won’t go into detail on these two — just the basics.
If you must decide which to do first, it would be the iris. They need to be divided when the clumps start to thin out or stop flowering. A section of the rhizome is cut to about a 4-to-5-inch section with two or more “fans” of foliage. When the section is removed from the ground, use a sharp knife or scissors to cut the foliage on the fan to 3 inches. Use a sharp knife (the hori hori works great for this) to cut the rhizome section, then use a fork or your fingers to lift it out of the ground. Let the dug section air dry for a half hour or so. Then it gets replanted.
Planting depth of the iris rhizome is critical as planted too deep it will never, ever flower. About a third of the rhizome should be above the soil with the “fan” stubs pointed to the sky. Firm in, water, and that’s it. As long as the rhizome is long enough (3 to 5 inches) with two to three eyes you’ll have a flowering plant in two years. Sorry, most of these divisions will take two years to flower.
Peonies are done in a very similar manner and under the same circumstances when the peony clumps begin to thin and flowering is thin or stops altogether. If there is still foliage on the plant cut the foliage down to a 1-inch stub, and in this case you’ll be using a fork to dig the thick roots to avoid slicing them. When a root is removed look for bud “eyes.” A good division will have three to five eyes on it.
Make clean cuts on the root and keep the root orientation the same as when you dug it. After the root has cured for a half hour or so it can be replanted with the bud eyes facing up or to the side, not downward. Here again, planting too deep will result in no flowers. About a third of the root should be showing, and only plant the root horizontally, not vertically. Water after planting and any time there’s no rain for more than three days for about a month. Flowering should begin in the second growing season.
In the case of both plants, tag the divisions if you know what the variety is. Have too many? Friends may be delighted to get these as gifts but they need to be planted shortly after being dug. They make even better gifts if you know what variety you’re gifting.
Another easy perennial to divide are the daylilies (Hemerocallis). These can really be divided at any time in the growing season, but this is the best time as there’s less stress and all the plants’ energy will go into root production and not flowers.
Find a section of the daylily that you want to divide. Bundle the foliage in your fist, and using a hand pruner or scissors, cut the foliage down to 3 to 5 inches. Using a straight spade push the blade into the clump straight into the ground. Make four slices in a square then gently push the handle of the spade backward at the last slice and ease the division out of the ground.
Use the spade to make a new square hole and simply insert the square division into the hole. The division should be at the same level as it was when you dug it, never deeper, but a bit higher is OK. Water in and water every few days for a couple of weeks and that’s it. Really easy.
Next are the Astilbes. These require a bit more work and effort but I still think they are in the easy category. Astilbe clumps can get quite large, and depending on your goal they can be divided at the edge of the clump or inside the clump. First, figure out how many divisions you want and where they’ll go. Look at the parent clump to decide where you’ll dig — but don’t. The first step is to remove most (but not all) of the stems and any remaining flower stalks. Once you’ve done this, the process is simple.
Using your spade, dig square sections of the clump, creating 4-to-6-inch square divisions. These divisions will then be set into the square holes you’ll dig at the new planting locations. Space your divisions about 8 to 12 inches apart, leaving them room to grow and expand. The soil you remove from the holes can go back into the original holes from the divisions you dug.
In this case there’s a very good chance that your planted divisions will flower next summer and your original plantings will also fill in the created gaps next summer. Unless you want larger and larger astilbe sections, this practice should be done every three to four years. Water the newly planted clumps as noted above.
Geum is another perennial that does well with dividing at this time. Unlike the plants noted above, Geum does not need periodic dividing, but it’s a great way to expand or extend a planting. A Geum clump or crown can be a foot to 18 inches in diameter. If a 12-inch clump is divided into four equal parts you’ll find this a great way to do another planting or extend the planting you have.
Thin out the foliage of the clump or crown you want to divide, leaving about 20 percent of the foliage intact. Use your spade to encircle the clump and make a straight cut down into the soil around the circumference of the clump. When the circle is completed push the spade into the center of the clump and cut it like a pie into four, three or two divisions. In most cases you’ll leave one division behind as the parent and move one to three of the offspring.
Plant the divisions in holes the same dimensions as the divisions at the same depth, never lower. Use some compost to fill in gaps and voids, then water in. The plants will continue to grow and establish into November and will flower next spring right on time. Again, water as needed.
Primulas, most of which flower in the spring, can be divided now or in the spring after flowering. I find it less risky to do this now as the weather cools instead of in the spring as it warms. You’ll see that most Primulas have offsets that can be easily dug with a small, thin trowel or with the hori hori. Transplant immediately into a similar soil with similar lighting. Water immediately after planting and every three to five days for a month unless there’s rain. Let them dry out before new roots are established and you’ll lose them.
Next week, one more easy one and several more that I’m sure you can handle but will be just slightly more challenging. Go forth and multiply. It’s free. And keep growing.
More Posts from Andrew Messinger


