


Anemone blanda (windflower) bulbs are just barely the size of a quarter and look like clods of dirt. Luckily this bulb isn't picky about top or bottom when it's planted and only needs to be 2 inches deep. ANDREW MESSINGER
Hyacinths, daffodils and tulip bulbs are great for forcing. Look for the largest bulbs available for the best blooms.

These tulips were planted in late November in a very mild fall. With such a large planting it's a good idea to arrange the scheme first, then methodically do the planting. ANDREW MESSINGER
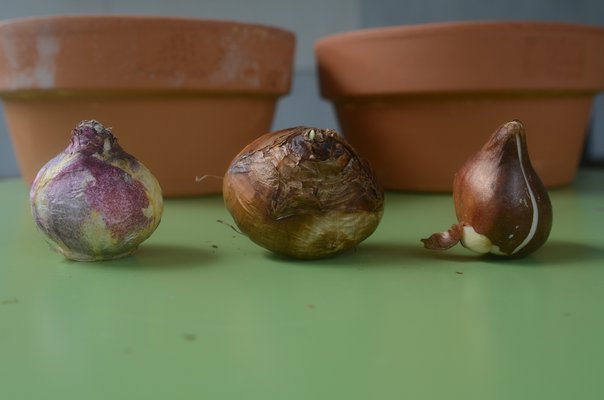
It can be hard figuring the top from bottom on this Allium giganteum bulb, but not the tiny nub at the top. Many alliums will also have "scales," like those of edible onions, indicating top from bottom. ANDREW MESSINGER
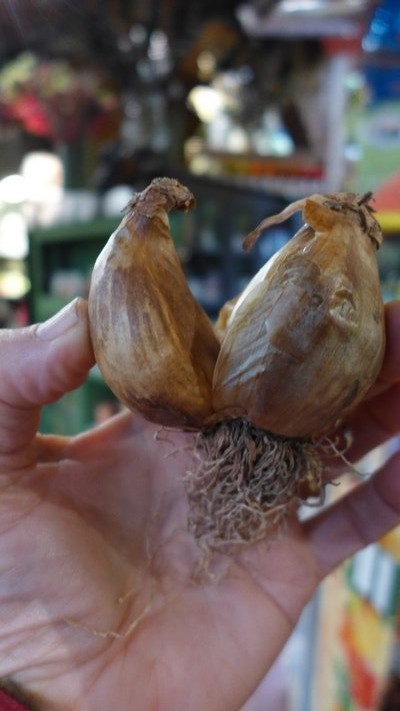
Top from bottom is easy on this daffodil since the roots are clearly on the bottom. Because there are two connected bulbs, this is referred to as "double-nosed." ANDREW MESSINGER

Fellow gardeners, it’s time to grab your drills, augers and diggers of all sorts, as it’s October—and that can only mean spring flower bulb planting time. For some it’s a daunting task because we often buy more bulbs than we can realistically plant, but the fruits of our October labors give such wonderful payouts when the frozen ground thaws in March, when the snow is melted in April and when all these gems that have lain silently dormant in their buried homes suddenly emerge from the earth, giving us wonderful color and delightful scents.If you ordered your bulbs online or by mail, they have either arrived or will in a few days. As long as you keep them cool and dry (with a few exceptions noted below), you can hold off on planting for several weeks—and there are those among us who will, for one reason or another, stretch it out longer. Our falls are mild and forgiving, but these bulbs are much safer buried in their earthly holes than sitting in the garage or basement getting moldy.
So, where to begin? First, remember that most of these bulbs, especially the tulips and daffodils, are complete plants in small packages. For the most part the flowers are already formed within the bulbs and what’s needed now is a winter chilling period that’s preceded by a period in the cool fall soils when the root systems will establish. These roots will in turn provide the conduit for water and nutrients that will result in the spring foliage and stems. Feeding these bulbs at planting time has little effect on next spring’s flowers, but—and this is a big but—feeding the plants next spring will have an effect on the flower development for the following year, 2017.
If you didn’t order bulbs, you can still get to a garden center and buy plenty, and there will probably be an ample selection of the more common varieties. Some garden centers will even be able to order some bulbs for you, especially if you want to do a mass planting or special garden project like a tulip cutting garden. When buying bulbs locally you’ll get the best bulbs by shopping early, and in the bulb world bigger is almost always better. Shy away from bargain collections and small bulbs that seem a bit inexpensive. Most likely these bulbs, like the ones at the big box stores, are lower quality (quality here is measured in bulb size) and will perform similarly.
When buying locally, be careful to get one of those little tags that are usually on the box of bulk bulbs. Put each variety of bulb in a different bag and either put the tag in the bag or write on the bag what’s in it. There’s nothing worse then getting home with eight bags of bulbs that all look the same … but aren’t.
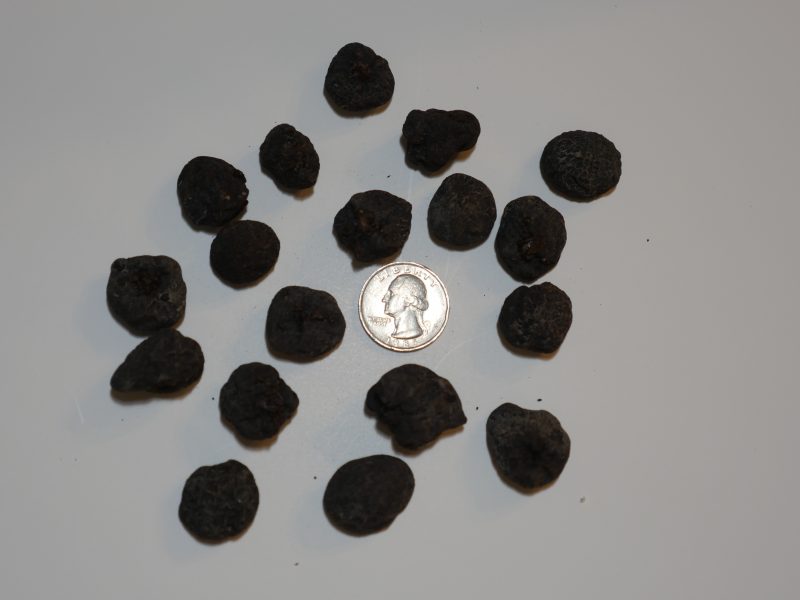
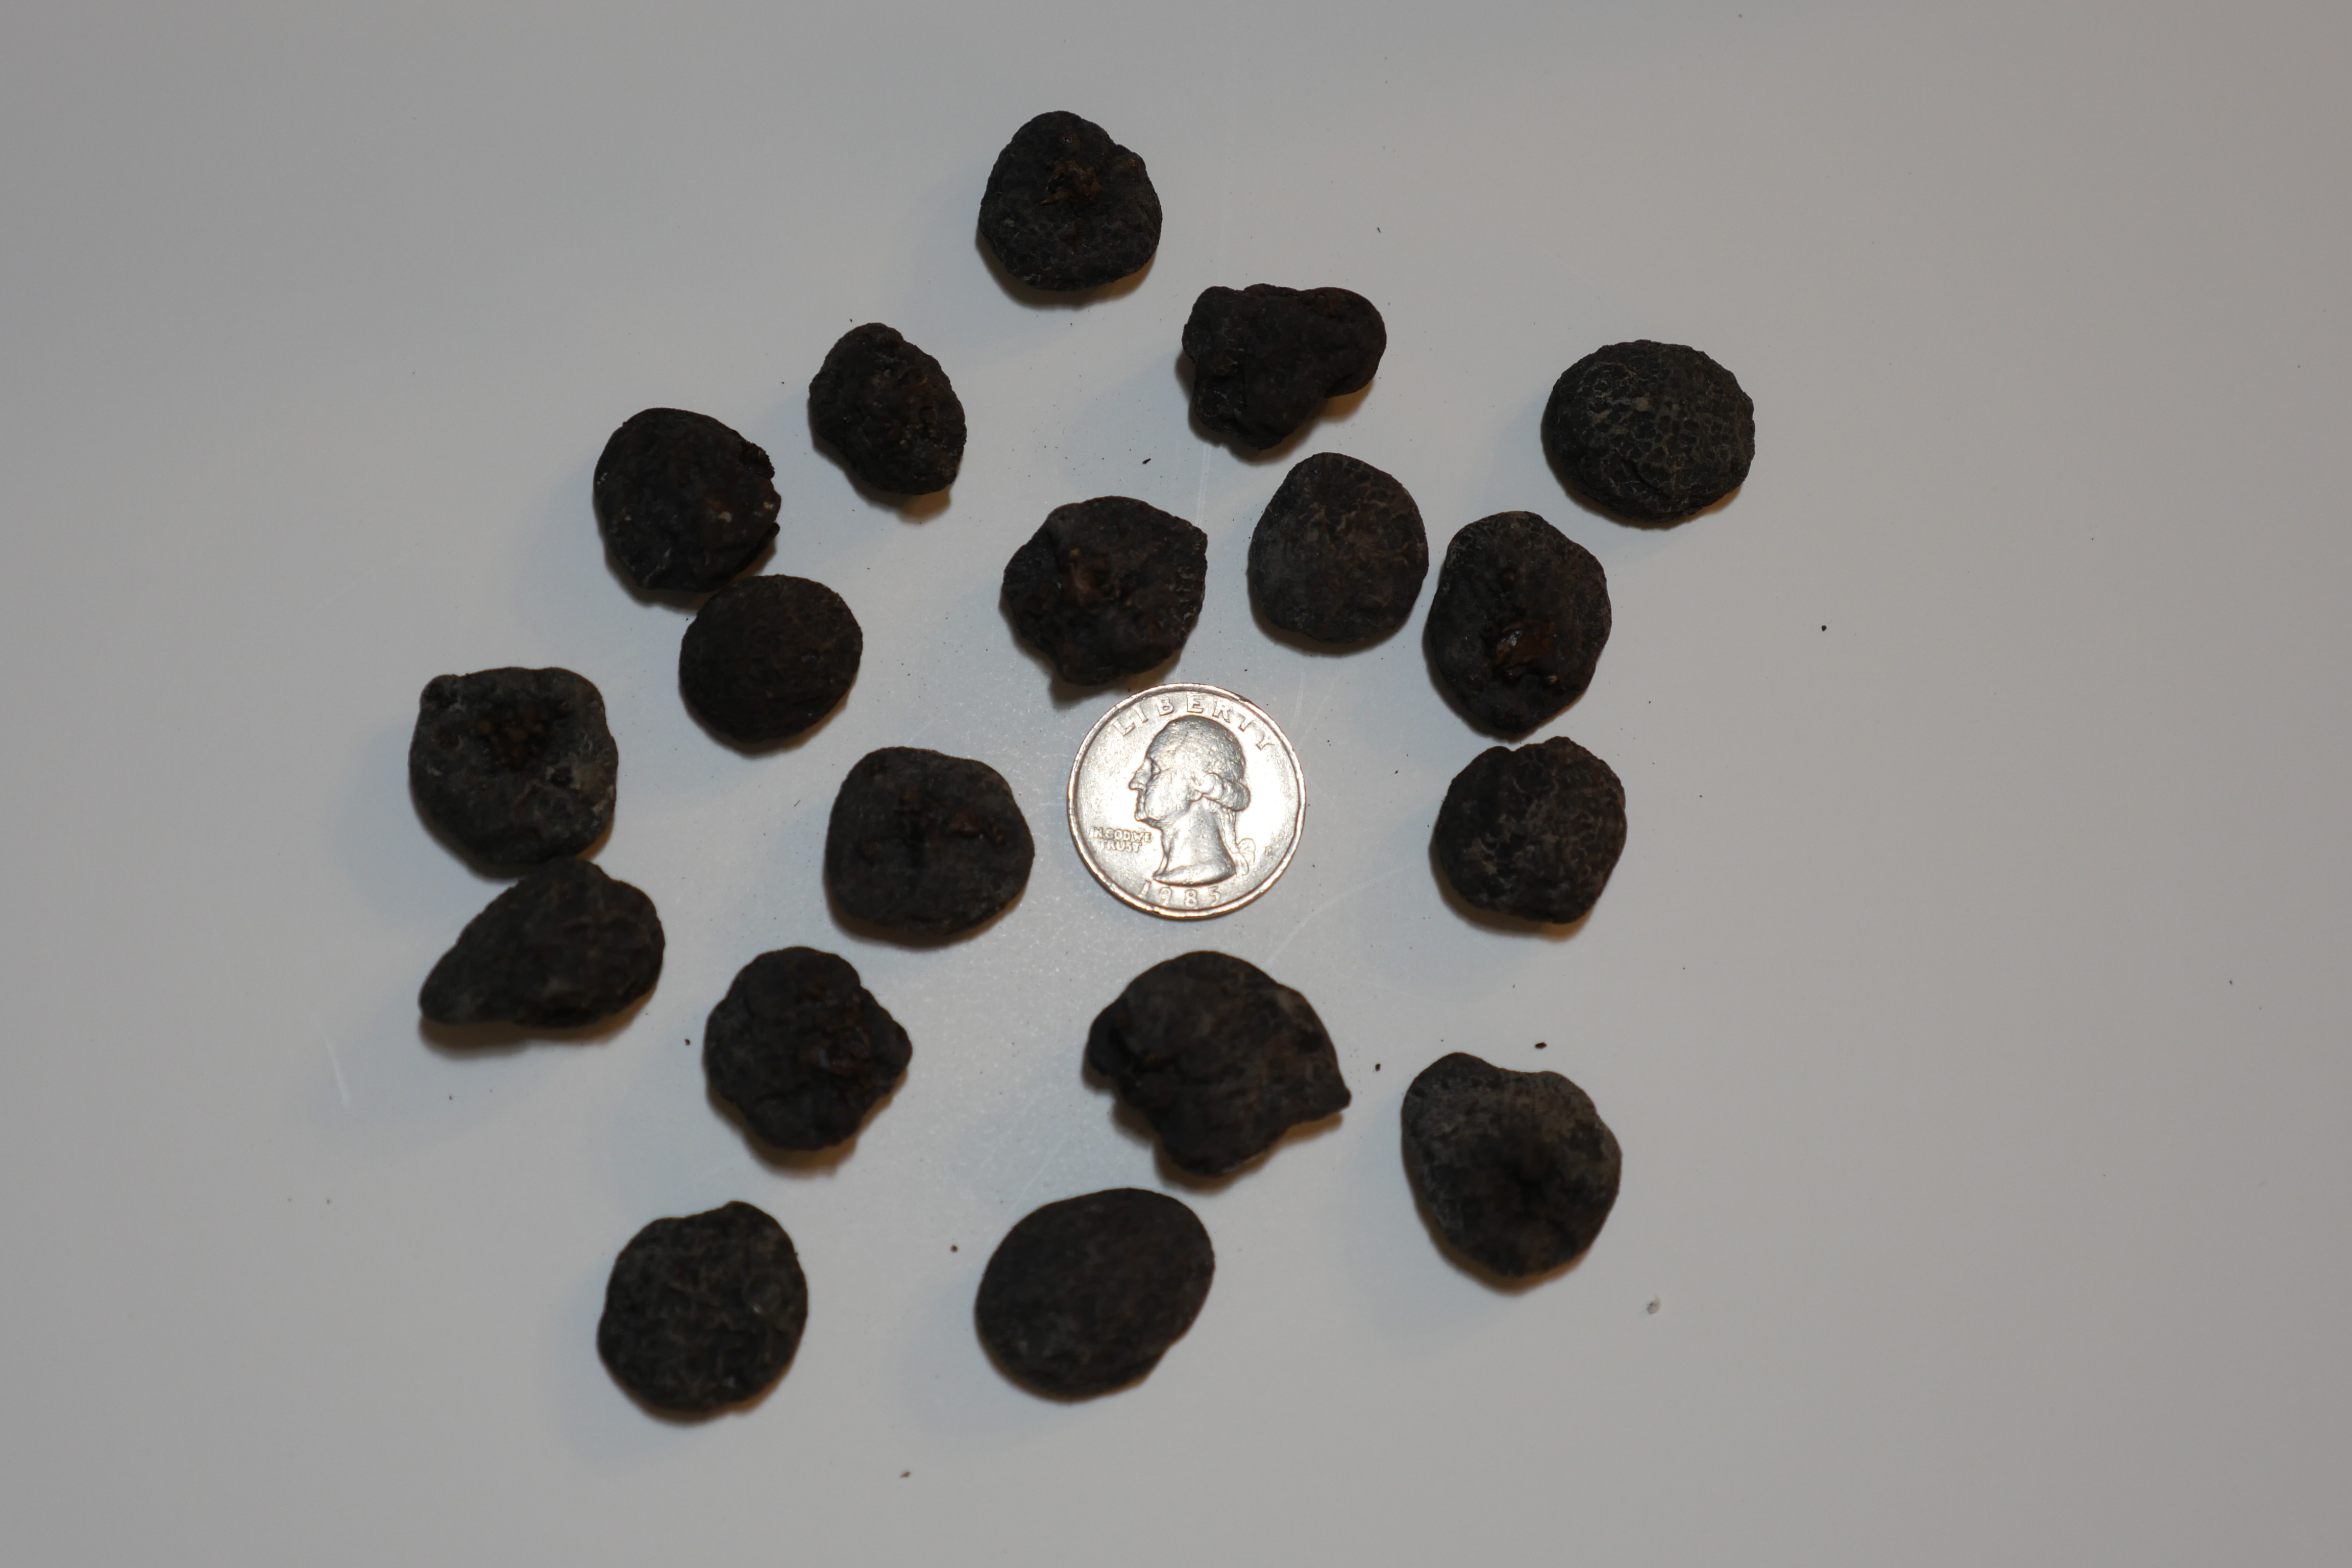
Next, give some thought to protecting your bulbs. For daffodils (narcissus), this isn’t an issue, and it’s not an issue for frittilarias and most alliums because they are not tempting to squirrels and other rodents. But for other bulbs, especially tulips and hyacinths, it’s a good idea to use a deer and rodent repellent. These can be dips, granules or drenches, and for at least the first year they will protect your bulbs from marauders. You can also install horizontal fencing over the ground to keep these guys from digging, but it won’t completely stop them. If you’ve had serious issues with bulb stealers in the past you can also consider planting in bulb cages. And don’t forget the deer. Yes, the deer. They will dig and eat your tulip bulbs if they are not protected. And they know the exact minute and location of your planting. Before planting, look at your bulbs. Know which is the top and which is the bottom. Plant them reversed and you may end up with nothing. The “nose” and base of a daffodil bulb is pretty obvious. Most tulips have a point that makes their top easy to spot, and the alliums are also obvious. When in doubt, try to figure out where the previous season’s roots were. That’s the bottom. Don’t try to figure this out with Anemone blanda, though. You’ll go nuts with this one. Luckily, for this bulb it doesn’t matter. Just plant them 2 inches deep and that’s all you need.
Now there’s the digging. Know the proper planting depth for the specific bulb you’re planting. Planting depths can range from 3 to 8 inches. Individual holes can be “dug” with a bulb-planting tool or with a planting auger. Electric drills work great in our sandy soils, and with an auger attached you can plant bulbs much more efficiently than with a hand tool. Smaller bulbs like anemones and grape hyacinths can be planted with a dibble or a hand trowel by just making a slide in the soil and slipping the bulb in the slice and covering it.
One great project is to plant a layered bulb garden where you dig out a defined space about 8 inches deep and layer the various bulbs at their proper depths as the space is filled in. This way you can have any number of different bulbs planted in the same area for an extended blooming season or patchwork display. In a garden like this, the daffodils and tulips would be planted first, then soil added on top of them to the depth for the next “layer,” which might be galanthus, then muscari and finally Anemone blanda.
It was once common practice to add a bit of fertilizer to each planting hole or to the bottom of the planting bed. Bone meal was commonly used, then the bulb companies decided to cash in with “bulb boosters.” There’s little evidence that these serve any purpose other than freeing you of some cash, but feeding the bulbs next spring, not at planting, will benefit them in succeeding years. Keep in mind that some bulbs like tulips can be expected to perform well for only a few years, hyacinths maybe four years, but some like muscari can go longer, and the right daffodils will naturalize and last for decades.
Cool soil temperatures stimulate all these bulbs to grow roots, and the better the fall root growth the better the plants will grow in the spring. Shallow roots can result in weak anchoring and stalks that will fall over when the heavy flowers open. Water is also essential, so if we continue in this drought give the plantings a couple of good soakings a couple of weeks apart.
Although the hardy lilies are summer-flowering bulbs, we plant most of them now as well.
These “bulbs” are not like the dry and dormant tulips and daffodils that we’re also planting now, and it’s important to be sensitive to the difference. Most of the spring-flowering bulbs can be stored for weeks and months before they are planted, and this allows the Dutch to harvest, ship and store many of these bulbs months before we plant them. The hardy lilies, though, are much more fragile and in most cases the time between when they are harvested and shipped to us can be as little as 10 days to two weeks. Then, for the best results, they should be planted within days of when we receive them, or they will need special storage until they’re planted.
With this in mind, you’ll need to know where you want to plant them and possibly even have the planting holes dug and ready before the bulbs arrive. Hardy lilies need good drainage, a bit of shade for the later ones, and not highly organic soils. So, while it’s fine to add compost to the planting holes, don’t overdo it, as the compost will retain moisture, and poor drainage is the death knell for these plants. Some varieties mature very late in the season and therefore are harvested late, so be prepared for deliveries from mid-October onward if your lilies have been domestically grown. Keep growing.
More Posts from Andrew Messinger


