


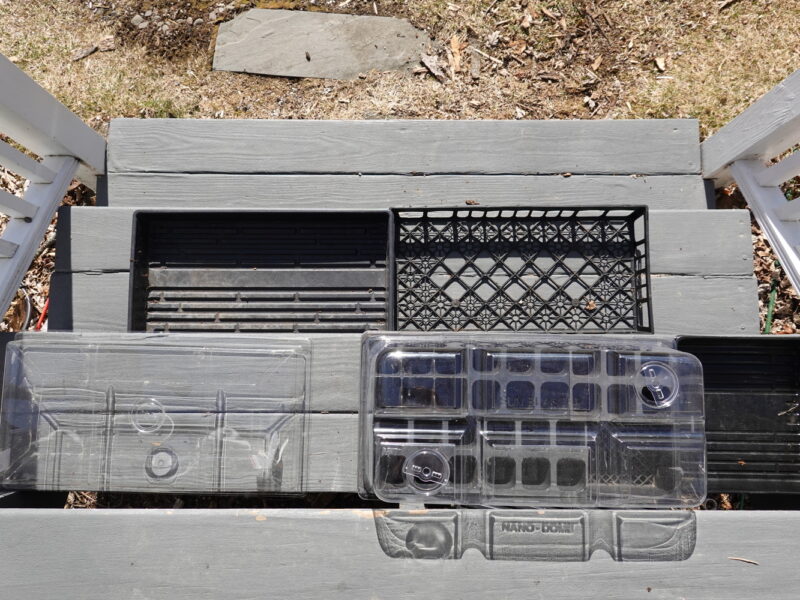
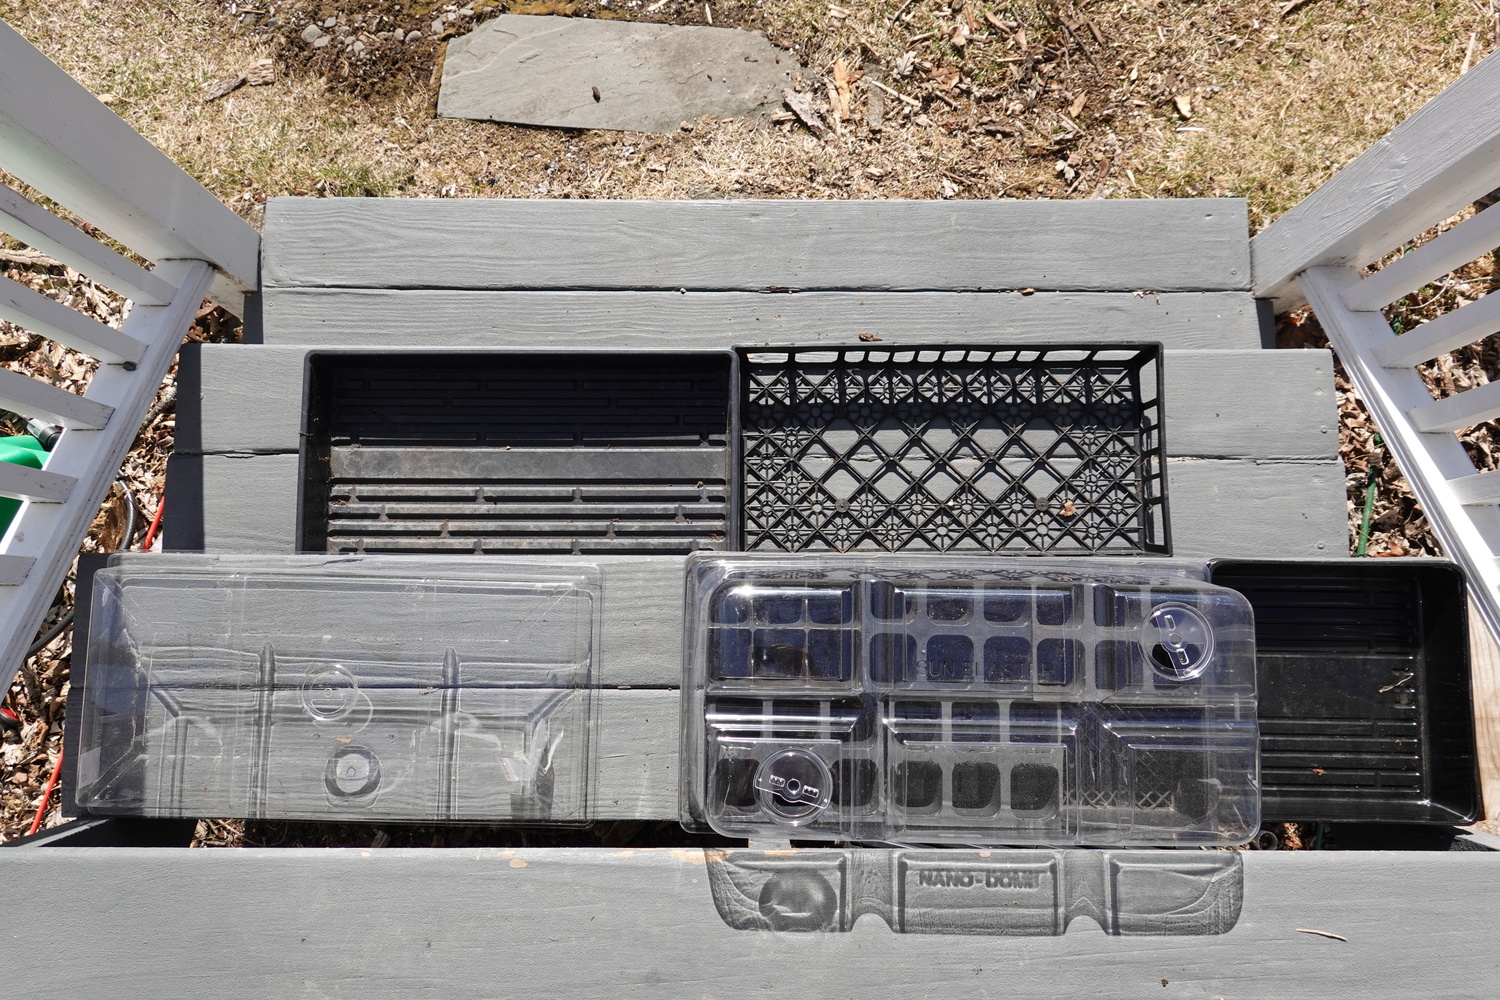
On the top step far left is a flat dome that will cover a standard 11-by-22-inch flat and is 2 inches tall. Inexpensive, and perfect for germination flats. To the right is a 12-inch-tall dome with venting holes. Under the dome are various sized cell packs that fit into a standard flat. To the right is a half flat and you can find half flat domes. On the lower step is a slotted (for drainage) standard flat, and to the right is a “netted” flat, which is used to carry flats, cells or combinations that need good drainage. ANDREW MESSINGER
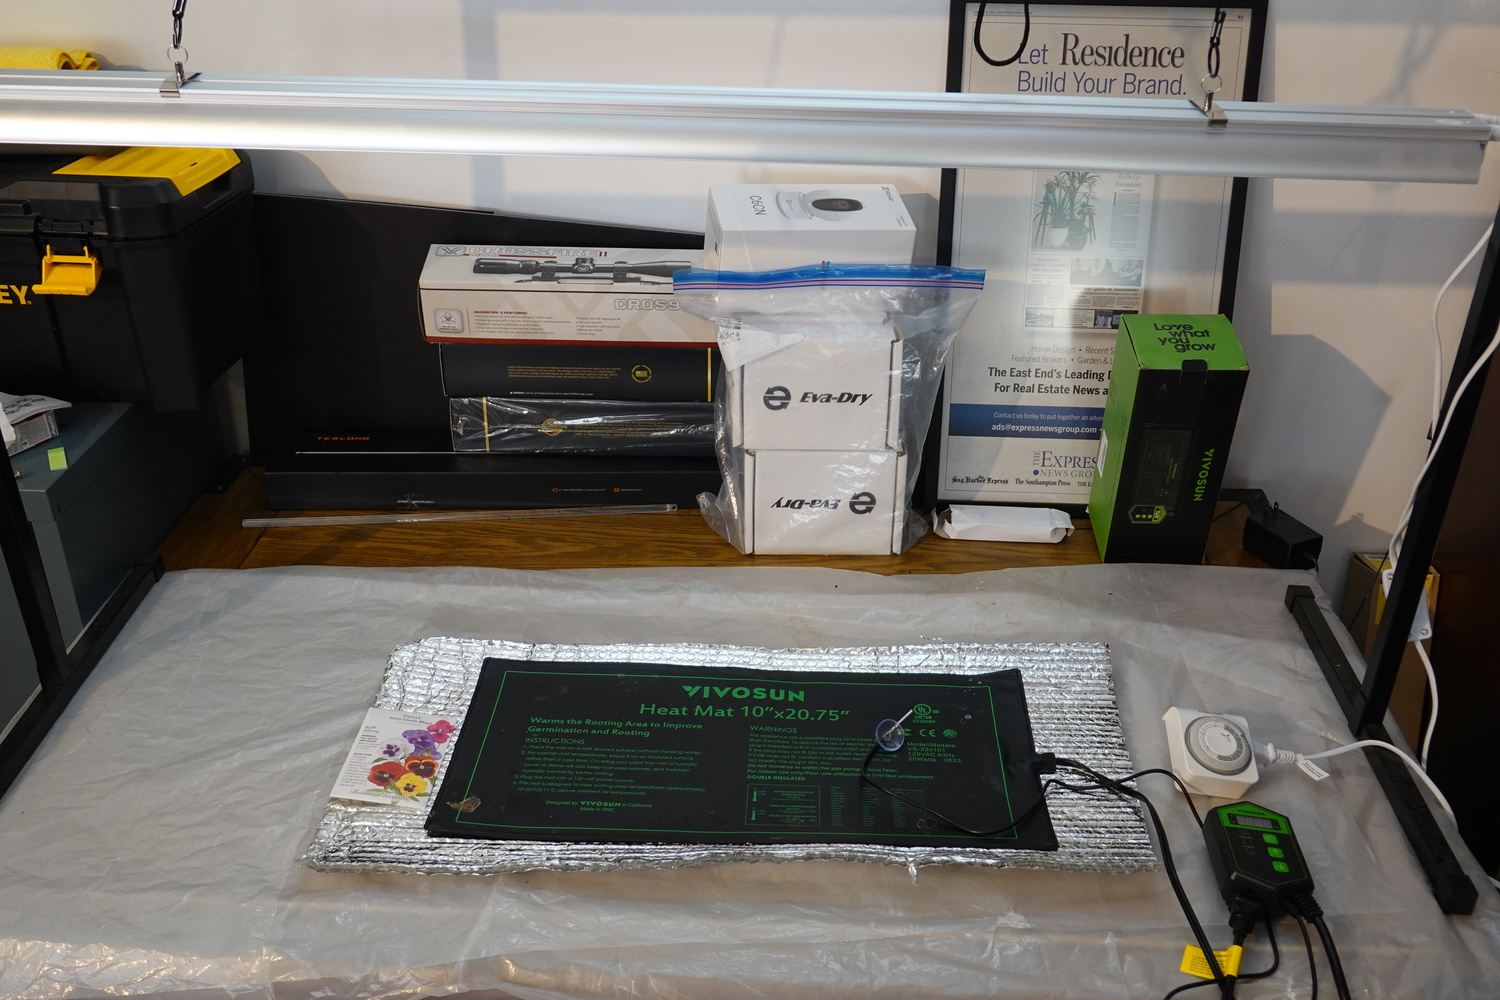
Seed germination tools. Across the top is a 4-foot LED full-spectrum grow light that can be raised and lowered. Below, on the table is the heating mat (center) with foil-covered bubble insulation that keeps the mat from heating the table. To the right of the mat is a simple timer that turns the grow lights on and off, and below that is the controller that sets and maintains the heating mat temperature. The controller also has a small probe that goes into the soil medium and tells the controller when to turn on or off based on the settings. The entire setup (including light stand and LED lights) runs under $150 and will last for years. A pack of pansy seeds, on the left, is $3. ANDREW MESSINGER
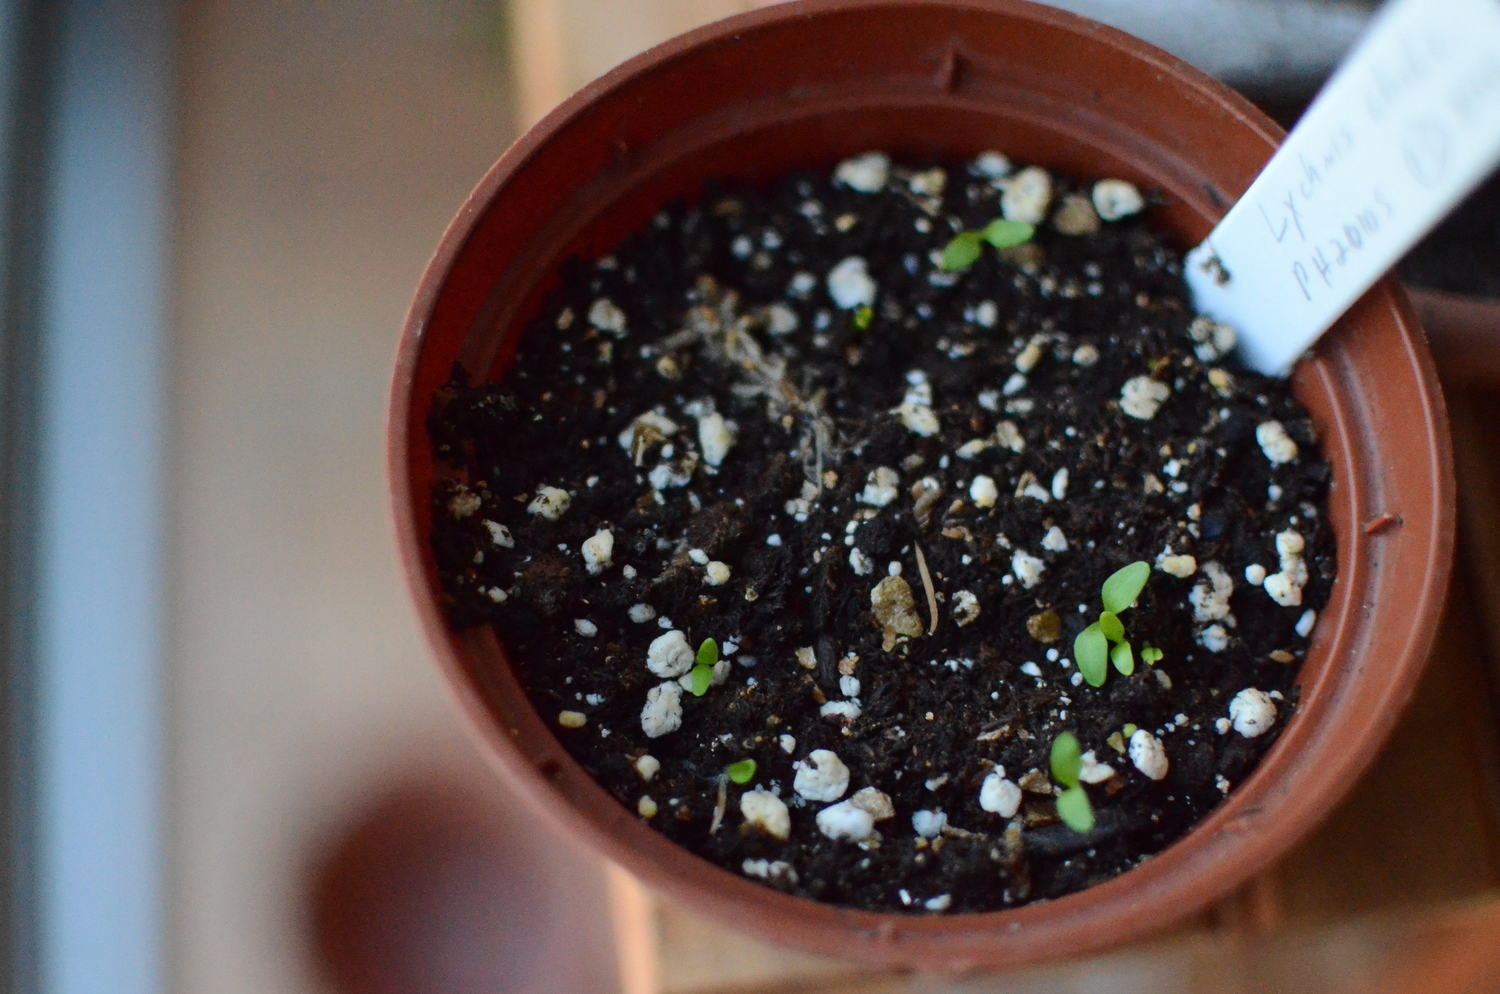
These are Lychnis seedlings from seed collected in the garden. It’s also a reminder that you don’t need flats and cells to start seeds. This is a 2-inch-deep plastic pot saucer. These seedlings are about two weeks from their first transplant to cells. ANDREW MESSINGER
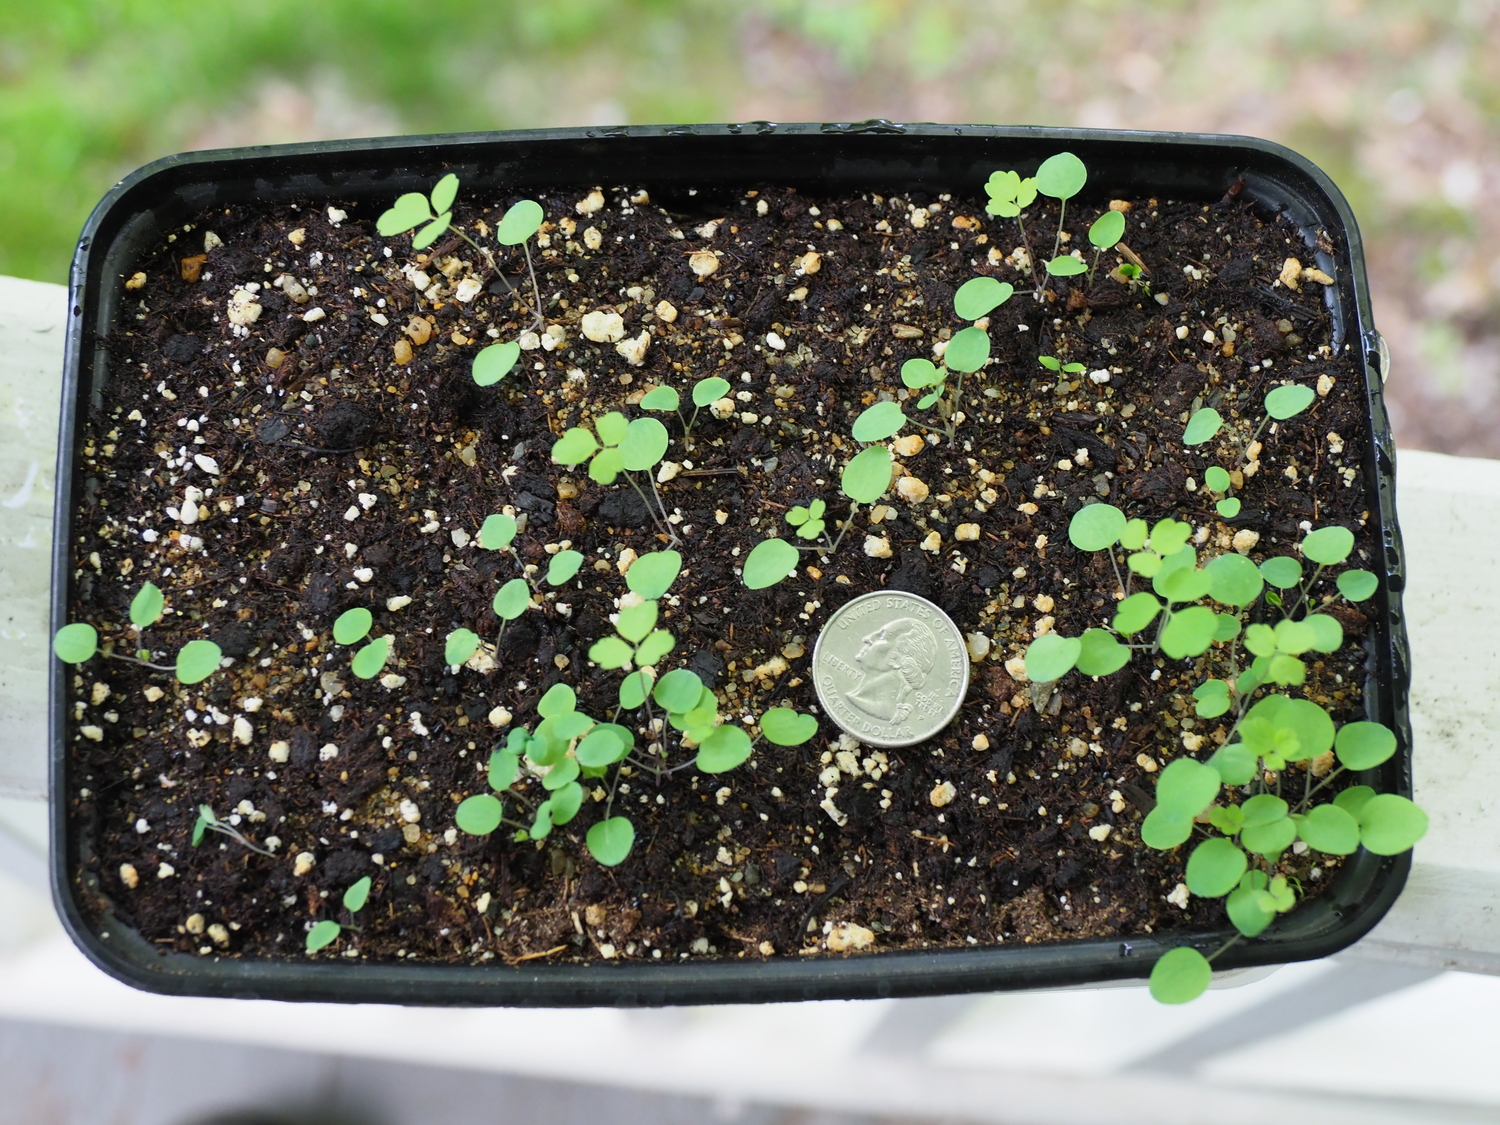
Columbine seeds that have germinated into transplantable-size seedlings. Columbine (Aquilegia sp. ) seeds are light germinators so they are surface sown and pressed to the soil. If the seed is covered, they will not germinate. These seeds were sown in a hot food takeout tray that had a clear plastic top -- a dome. ANDREW MESSINGER

It may seem a bit late to be discussing growing plants from seeds since some veggie gardeners have their long-season crops like peppers seeded indoors already.
As of the end of March, it looked like some of us are experiencing spring five to 10 days later than in the last few years. The warmer outdoor weather may be just a wee bit late this year, and there’s nothing quite as bad as having flats of seedlings getting leggier and leggier under lights or on a windowsill while waiting for Mother Nature to become more cooperative.
Growing plants from seed has always fascinated me. It’s an incredibly inexpensive way to grow all those native plants that gardeners lust for these days. Some can be started very easily while others can be more complex. The bottom line is that if you want a large collection of plants for your ornamental garden, vegetable garden or native garden then you can’t go wrong with seeds. You’ll not only learn a great deal, but you’ll save hundreds to thousands of dollars.
What do you need for this adventure? First you need the seed. It can be seed that you’ve collected or seed that you’ve bought. This magical seed has within its seed coat all the necessary elements to start growing. You need to supply a medium — the stuff the seed will grow in — a container to hold the medium (soil) and you need to know if your particular seed needs light or darkness to germinate, or it may not matter at all for some seed. The magical and free ingredient is water.
Next you need a source of heat, or better said, warmth. Most seed will germinate with the soil temperature between 68 and 72 degrees. This can be accomplished using a heating mat or even a low-wattage light bulb under your container (15 watts at most like a refrigerator light bulb). However, modern heating mats are inexpensive and controlled by a thermostat.
Not all seeds germinate in this temperature range though. Some need alternating periods of warmth and cooling, and some need cooling (vernalization) first. These plants from seeds would be for you once you can germinate the easier seeds and some can be left outdoors in deep flats or in a cold frame.
Larger and easily handled seed can be sown directly into cells while smaller seeds often get sown into flats or small trays. Half flats with drainage (about 11 inches square) are good for mass seedings. As these seedlings get to the stage of two “true” leaves they are then gently teased from the soil and transplanted into cells, then put into flats to grow on prior to planting in the garden, while some may be kept for a year to gain root mass before planting. You’ll also need a plastic dome to put over your flat. These are available from about two inches tall to a foot tall and some have venting holes on the top — a nice addition. These allow your flat to remain moist and warm though they should be ventilated if you see moisture on the dome.
One plant you can gain experience and confidence with is the pansy, a cultivar of Viola. Pansies are great for gaining experience. The seeds are large enough to handle and practice with. Starting them now will give you flowering plants for this fall’s displays in your pots or garden. The seeds are available in many seed racks or by mail.
You can buy pansy seeds in packets of 200 milligrams. That will give you about 100 seeds for about $3. Those hundred seeds will give you about 10 pots of pansies, and when all said and done, each flowering pot will have cost you about 15 cents. Bought at a store, these plants will cost over a dollar for an inch-and-a-half cell. Grow your own bargain.
You’ll do well with a heating mat for this project as well as a flat with drainage slits and at least 2-inch-square cells (or larger) that you can buy in a sheet that will fit into the flat. Vivosun heating mats (10x20x7 1/2 inches) are perfect for a single standard flat and cost under $25, including the thermostat controller. I put a single layer of foil-covered bubble insulation under my mat to protect the table under it from the heat. Set the thermostat to 70 degrees and put the controller probe into the soil in one of the outer cells. If you want a whole setup of heating mat, controller and an LED grow light, you can find Vivosun kits in 2-foot- and 4-foot versions.
Now it’s time to practice your seed-dropping skills. Put about 100 pansy seeds onto a small plate or bowl. Have a single sheet of paper nearby. The paper can be white or black, but it should be unprinted. Work on getting some seed between your thumb and forefinger then gently, very gently, rub your fingers together and watch the seed drop. The goal is to get a drop pattern that leaves about 10 to 15 seeds in 2-inch squares on a side. Practice as much as you need to without crushing the seed. When you feel confident that you can drop seeds in the cell, then go for it.
The “soil” you fill your cells with should NOT be a potting soil but a germination soil and you’ll see these in bags at the garden center. Moisten the soil lightly in a pail so it’s damp but not dripping wet. Fill the flat that has the cells in it (you can use a half flat for this as well) filling each cell to the top without compressing. When the cells are filled, gently drop the flat from a half foot or so to settle it. When done the soil should be about a quarter inch from the top of the cell; maybe a bit more.
Now put your seeding skills to work and drop 10 or so seeds in each cell. When the cells are seeded, cover the seed with your germinating soil as pansy seed is a dark germinator. About a quarter inch of soil will do. Next, gently tamp the soil so the soil is in good contact with the seeds. A small wooden block the size of the cell will do or the bottom of a small pill bottle that’s about the right diameter. Press gently, but press.
The seeding process is now done. Using a one-quart spray bottle (available at hardware stores) use a coarse spray to wet the soil. Again, not dripping wet but keep in mind that seeds won’t germinate in the absence of moisture.
Cover the flat with your dome, watch the soil temperature and if you find moisture collecting on the dome, ventilate the dome by propping it up on one side or one end so it can vent. Just watch the soil temp and try to keep it between 68 and 72. The seeds should germinate in seven to 10 days. When most have germinated you can remove the dome.
The emerging seedlings will now need more light. Setting the trays by a bright window or under a grow light that’s on 12 hours a day will work. If you see more than 10 seedlings in a cell you can use tweezers to pluck out the extras, gently. As the leaves develop and there are four or more of them you can begin to add a small amount of fertilizer (liquid organic) to your waterings weekly. Keep the soil damp but not wet, and don’t overwater.
If you’ve done well, you will have a flat of pansy seedlings that will flower in eight to 10 weeks. The cells in the flat can be moved outdoors as soon as there’s no threat of frost (late April) but protect the flat from rabbits and other feeders with chicken wire. As the seedlings fill the cells and create a nice root mass, you can repot or bump the cells up to 4- or 5-inch pots using a commercial potting soil. Grow them on until they fill the pots.
Late in the summer the plants can be transplanted into the garden or into planters. Each of the 2-inch cells that you started with is now equal to the same-size potted pansies that you’d find in the garden center. The cells and flats as well as your dome and heating pad can be used for years, but clean them well before storing them or using them again.
Your pansies will flower until there’s a hard freeze, and in most years they are treated like biennials, flowering again the following spring. If you want similar, but smaller and less ornate pansy-like flowers, then move on to the Viola species, especially our natives, which are just a bit trickier to grow, but you certainly can.
And now you have the basic skills for starting just about any plant from seed. You can move on to smaller seed like Primula but make sure you choose the hardy types.
Not all plants can be grown from seed but there are more than enough to keep you busy. Check out the seed list at Jelitto, which you can find at jelitto.com, and let your imagination go wild. There are also suppliers of native plant seeds and of course the more unusual annuals that you can’t find at garden centers. Have fun, experiment and of course, keep growing.
More Posts from Andrew Messinger


