


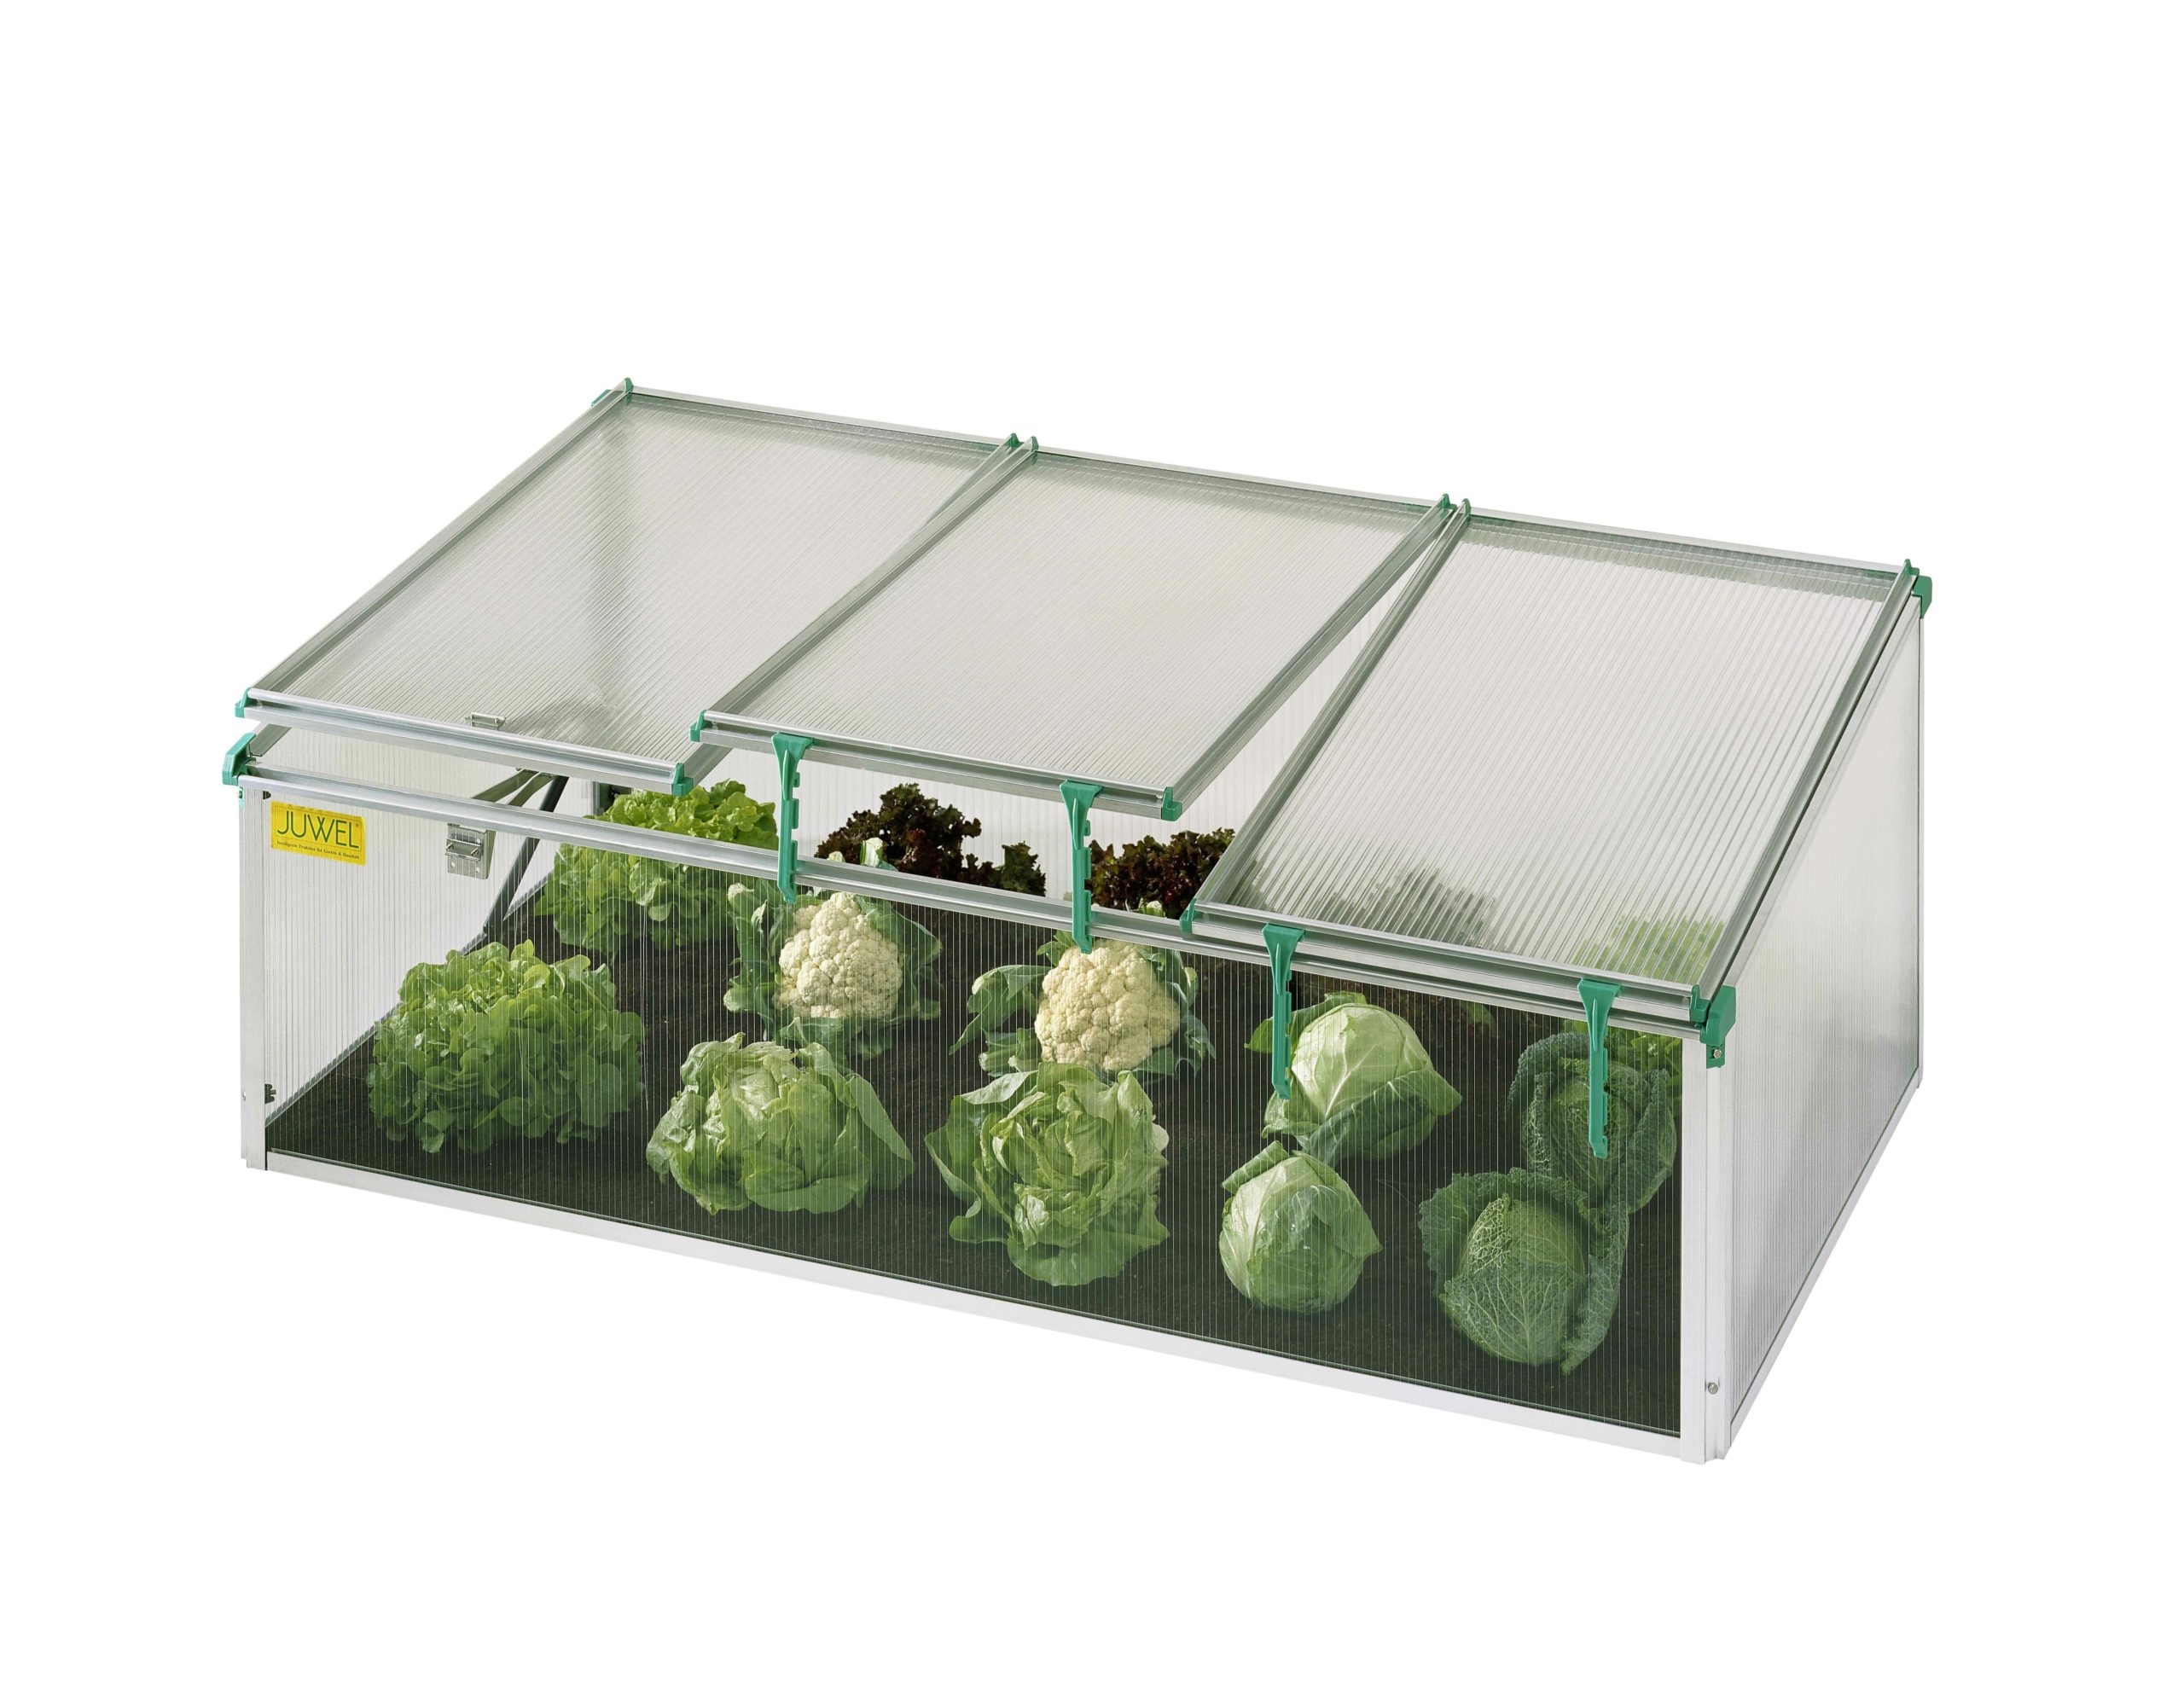
The Juwel Biostar 1500 cold frame can be used for starting seedlings, hardening off, propagation, year-round vegetable crops and much more. About 5 feet long and nearly 3 feet wide, it comes with one automatic vent and clips to keep the other two sashes open for venting as needed. Made with 8mm polycarbonate glazing, it’s one of if not the best pre-fab cold frames.
These cold frames are on the Rodale Organic Gardening Experimental Farm in Pennsylvania and are listed on the National Register of Historical Places. Oriented with a southern exposure, note the high rear wall with the lower front wall to take advantage of the winter sun. Composed of concrete block and wood/glass sashes, it was probably used mostly for vegetables and propagation. The interior is probably 6 to 8 inches deeper than the surrounding lawn providing some winter insulation for the soils.
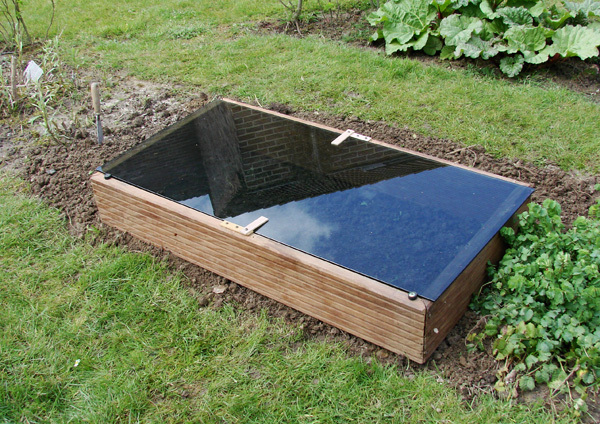
This variation on the theme is a seed-starting cold frame. Very useful for those with limited space to start vegetables and annuals indoors this frame is designed with a glass sash that could easily be substituted with polycarbonate at less cost and much less weight. For more details use this link https://bit.ly/3ElJeTo
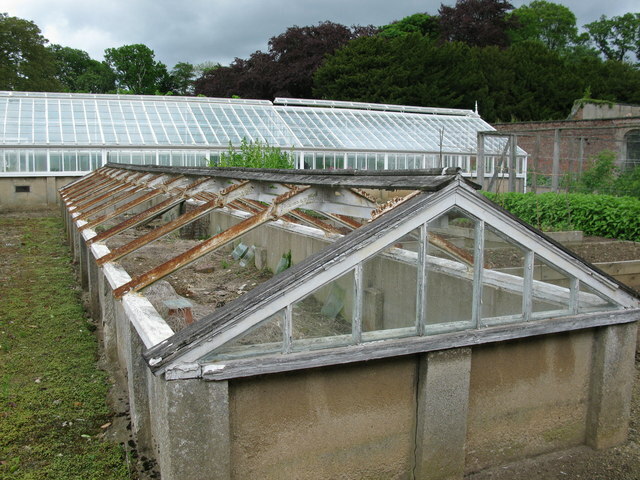
More-intricate cold frames were common in older commercial greenhouse operations. This frame is double sided and with an east/west orientation instead of just south like our cold frames. This design was able to be accessed from both sides. Commercially these were used for growing pansies, forcing spring bulbs and propagation.

By Andrew Messinger
If you start working on your cold frame now and finish it by the end of the month, by January or early February you’ll be starting your spring and summer vegetable transplants in it. By the middle of March you can be harvesting lettuce, spinach and a host of other salad greens and radishes weeks or months ahead of the stuff you’ll buy in the store in late spring. So, we continue with part two of why every gardener should have a cold frame and why you should get to work on one now.
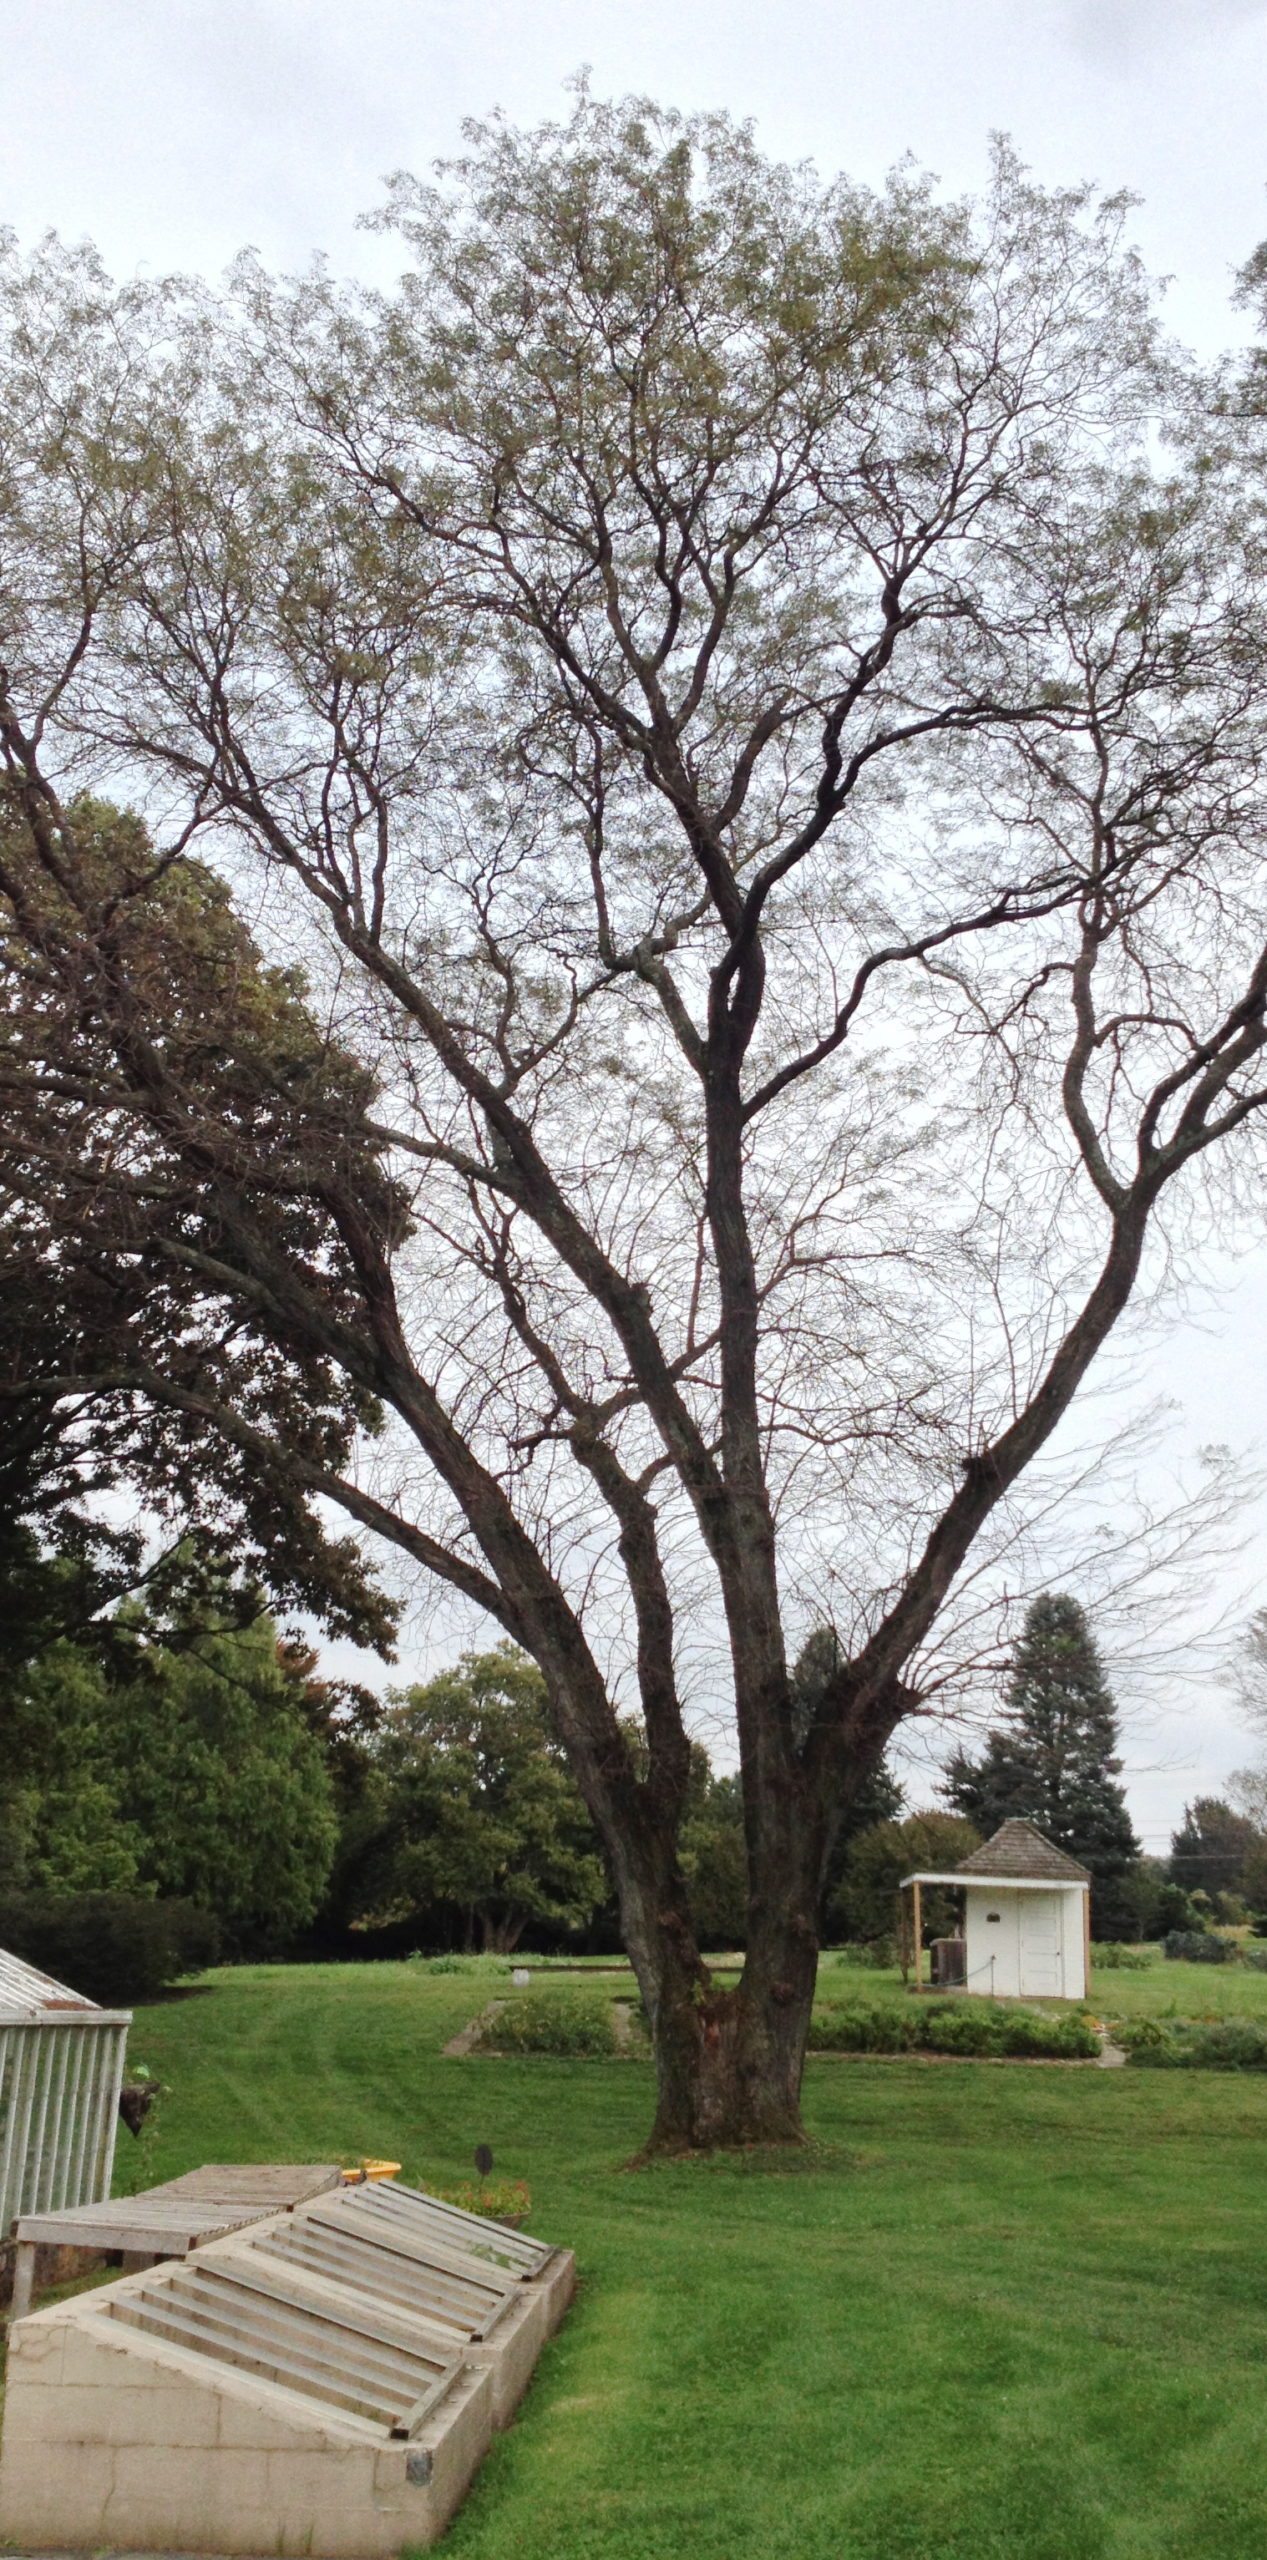
Prefabricated cold frames can lengthen the gardening season on each end by 30 to 60 days. Remember though, location, location, location. Cold frames need plenty of sunlight in the winter so never place them where there will be shadows, and beware of falling limbs and branches.
More substantial homemade cold frames with thicker walls and better construction and earth or foam insulation can absorb and retain more heat, and this kind of a structure can add 90 days to a growing season not just at the beginning but at the end of the season as well. This virtually doubles the amount of growing and gardening time that you can get in each year. If you check my math, it also means that there is the real potential for gardening in your frame year-round so long as you clear the snow off the sashes.
The principal use of cold frames in the spring is for growing on or starting seedlings that will be planted outdoors when the ground is warm and hospitable, though some folks use their frames for “in place” crops as well as for starters. Hundreds to thousands of seedlings of dozens of types can be grown in a cold frame smaller than a kitchen table, but their results can fill a garden the size of two large living rooms.
Come fall, cold frames can be used for producing salad greens or for prolonging the harvest from compact varieties of peppers, eggplants, bush zucchinis and cucumbers that have been grown in containers or which have been permanently planted in the frame. Beets and carrots can remain planted in the frame soil right through the winter. Later, frames can be stuffed with dry leaves or salt hay and used for wintering cabbage and root crops, but there are dozens of other uses including the propagation of perennials and woody trees and shrubs in the winter months.
I also need to mention the forcing of spring-flowering bulbs. These bulbs, when planted in pots and put in the frame in mid to late October, can provide you with virtually any spring-flowering bulb such as tulips, daffodils, Crocuses, hyacinths and more that can be forced into bloom late in the winter. These bulbs spend 12 to 16 weeks in the frame where the object is to keep them very cool, but not frozen. At the appointed time, the pots are lifted from the frame and brought indoors. Several weeks later you have wonderfully colored and scented plants in the house or to use as gifts. Some perennials, including lilies, Astilbes and Delphiniums can also be treated in this way, brought indoors to bloom and then planted in the garden in spring.
Years ago an experimental project was funded at the University of Michigan that enabled several horticulture students to design and build their own frame based on their own research. The students researched historical information as well as much of the more recent information of solar collection techniques and newer building materials. They puzzled out the construction details, ordered supplies and did the work with no faculty supervision.
The dimensions of each frame were 54 inches long by 38 inches wide and the materials used included 30 cinder blocks, 2 bags of mortar, 15 feet of 1-inch-by-6-inch lumber and a quart of green Cuprinol (now we’d use white cedar and skip the Cuprinol). Total cost was under $50 — but probably over $200 today.
The students laid the blocks with mortar and tied-in the corners for strength. They embedded wooden blocks in the top course of blocks to which wood screws could be anchored. Rather than build the frame one course higher in the back to tilt the cover for shedding rain and additional solar gain, the students decided to shim and mortar under the rear and side sill boards. This produced a slight slope without requiring tricky cutting of the blocks at an angle.
An experimental cover was built of clear plastic film stapled over a chicken wire pillow. This produced a deep lid with plenty of dead air space for insulation, an important thing to remember as most heat loss is through the top or glazing. This innovative top was inexpensive and easy to prop up for ventilation while the cover was held snugly to the lid for heat retention by quick-release tie-downs. These days you can use double- or triple-walled polycarbonate greenhouse panels that eliminate the need for any insulation.
Plastic can be used for glazing but you’ll still need rigid frames to tack the plastic to. The drawback of plastic is that it will need replacement every year or when damaged. Fiberglass panels (now called FRP) or sheets (available in rolls 3 feet by 50 feet) can also be used, but you’ll still need to build a frame to attach it to.
A newer glazing material that works really well is a honeycombed polycarbonate. They are usually double walled and the dead air space between the walls provides great insulation. The panels can be cut to size and some online supplies may cut them to your specifications. This material will resist hail, just about any snow load and will retain it’s light transmission for nearly 10 years.
The best is glass, but glass sashes require maintenance. Discarded storm windows and windows from a house under renovation can’t be beat. Remember though that whatever you use to cover the frame with it will have to be opened when the temperature inside gets to between 45 and 70 degrees depending on what you’re growing and trying to accomplish. This means you have to open them and close them, but there are automatic openers that will do this for you when attached to a thermostat and power.
My original frames were built from used railroad ties and sashes made from pressure treated (or white cedar) two-by-fours covered with greenhouse plastic. Would I build one of these today? Probably not.
I’ve gone back to look at the Juwel cold frames like the BioStar 1500, and they are much more impressive than the original ones I worked with years ago. This model is 5 feet long and 32 inches wide. It comes with an automatic opener, three sash sections and devices to keep different sashes open at set heights. It’s constructed of 8-millimeter twin wall polycarbonate, and this model has been getting excellent reviews. Prices for this model are around $375 to $400. They are imported though, and you know the supply chain issues.
Yes there are much less expensive cold frames than the Juwel, but when you check carefully you’ll find that they do not have the 8-millimeter double wall glazing which is critical for retaining heat and holding up to any snow load we might get. It looks like only the Juwel has an automatic opener (that actually works) included in the price.
One user of the 1500 model (also sold as Exaco Biostar 1500) who lives in a zone 5 area (much colder than out here) reported that his frame never went below 18 degrees while it was below zero outside. I would imagine that out here the 1500 model would keep a well sited and installed Juwel above 32 degrees all winter. The secret with this frame and all others is to learn when to vent and when not to. Like all of gardening, you’ll learn from experience.
One word of caution. Since your cold frame will be warmer than the outside landscape in the winter, there will be animals that want to move in or have a snack. These are primarily mice and voles seeking your hospitality and food. Start from day one with mouse traps and they won’t get out of control. Warning: Cold frames can be addictive and may lead to a serious craving for a greenhouse in a couple of years. Keep growing.
More Posts from Andrew Messinger


